Friday, January 24, 2020

A quick WIP update on Velvet Jacket and the Raspberry Rucksack

This week was not my best week in the sewing room. I had the Princess for part of the weekend and all day Tuesday, which is always such a treat and fills my heart with joy! I have also been very busy at work, and it can be so hard when you work from home and you keep glancing longingly at your sewing machines wishing only to be happily mired in a sewing project! Plus I had one night out on the road this week. On top of that, I am not feeling the best. I sound like Darth Vader and seem to have gotten whatever winter virus or cold that is flying around like mad at this time of the year. SO, not been able to breathe all that well and extra tired and super busy at work has meant not too much has happened on the sewing front.
 
I had some lovely emails from readers on my last post re: the Velvet Jacket. Thank you ladies!!
 
I did finish the hem of the velvet jacket and am now working on the sleeve hems. I have hit my first snag with this project and had a real Tim Gunn make it work moment. I am so used to cutting the hems of my sleeves at the finished length with the thought that there is a good 1.5 inch sleeve hem and that gives me plenty for a jump hem in the sleeve. Well…I just plain old forgot that this sleeve has a band cuff and NOT a hem so I had no length for a jump hem. I played with my options and I figured that I just needed an extra ⅝” and all would be good. So i unpressed the hem in the lining that I had pressed up (luckily I had not stitched it yet) I edge stitched on a length of grosgrain ribbon and then I will hand stitch this to the hem and have enough length for play! I think it actually looks quite nice! The purple grosgrain makes for a nice bridge from the velvet to the silk. Too bad this is one of those lovely hidden details.


I started on the backpack project for the princess, The Raspberry Rucksack. The first couple of hours of work was for naught since I put the zipper in upside down. (despite the clearly marked instructions!) DOH! Luckily Wendy and her mad un-sewing skills came to the rescue and she picked out all the work so I could start again! What an awesome friend! Second time around was much better and went much faster since I already knew what I was doing. SO the front or face of the backpack is done. I have read from the reviews and tutorials that I have finished the hardest part. I’ll let you know if that is true once I finish the bag!
This is the zipper that I mistakenly put in upside down! Thank goodness for a friend to the rescue!

This is the front of the bag with the pop-up zipper pocket and the front handle. The pocket is 'off' by a smidge but I was absolutely NOT taking it off and re-doing it for 1/16th of an inch.


There are other things on the back burner of the sewing realm. It is time to get back to some selfish sewing for me!! I have another Cashmerette Tobin Sweater ready to be cut out and 2 jacket/coat patterns that I want to make mock-ups of AND I have a pile of active wear fabrics that I have been meaning to play with using Melissa Fehr’s Sew Your Own Activewear book AND I want to play with some draping projects AND, and oh gosh, the list in my head is endless!!! I will stop now before I spin out of control.


Weekend (sewing) plans- Plenty of rest with doses of cold medicine, Vicks Vapor Rub and lots of tea! and maybe finish the Velvet Jacket and the backpack. Fingers crossed!
 
Happy Sewing!!
From the Princess and I :)


Friday, January 17, 2020

Story of the Couture Velvet Jacket - a work in progress

This week I have a work in progress post. Some of the more couture methods that I use for garment making mean that it can take a couple weeks or longer to make a garment. The ultimate in slow and intentional sewing! This garment is quite different from any I have done before because it is un-selfish sewing. To be completely honest I was worried that I would get knee deep into this project and start to feel resentful because it wasn't for me. I was silly to worry about that! It is for my sister and every step of this project has been done in love so it is a total feel good at this point!
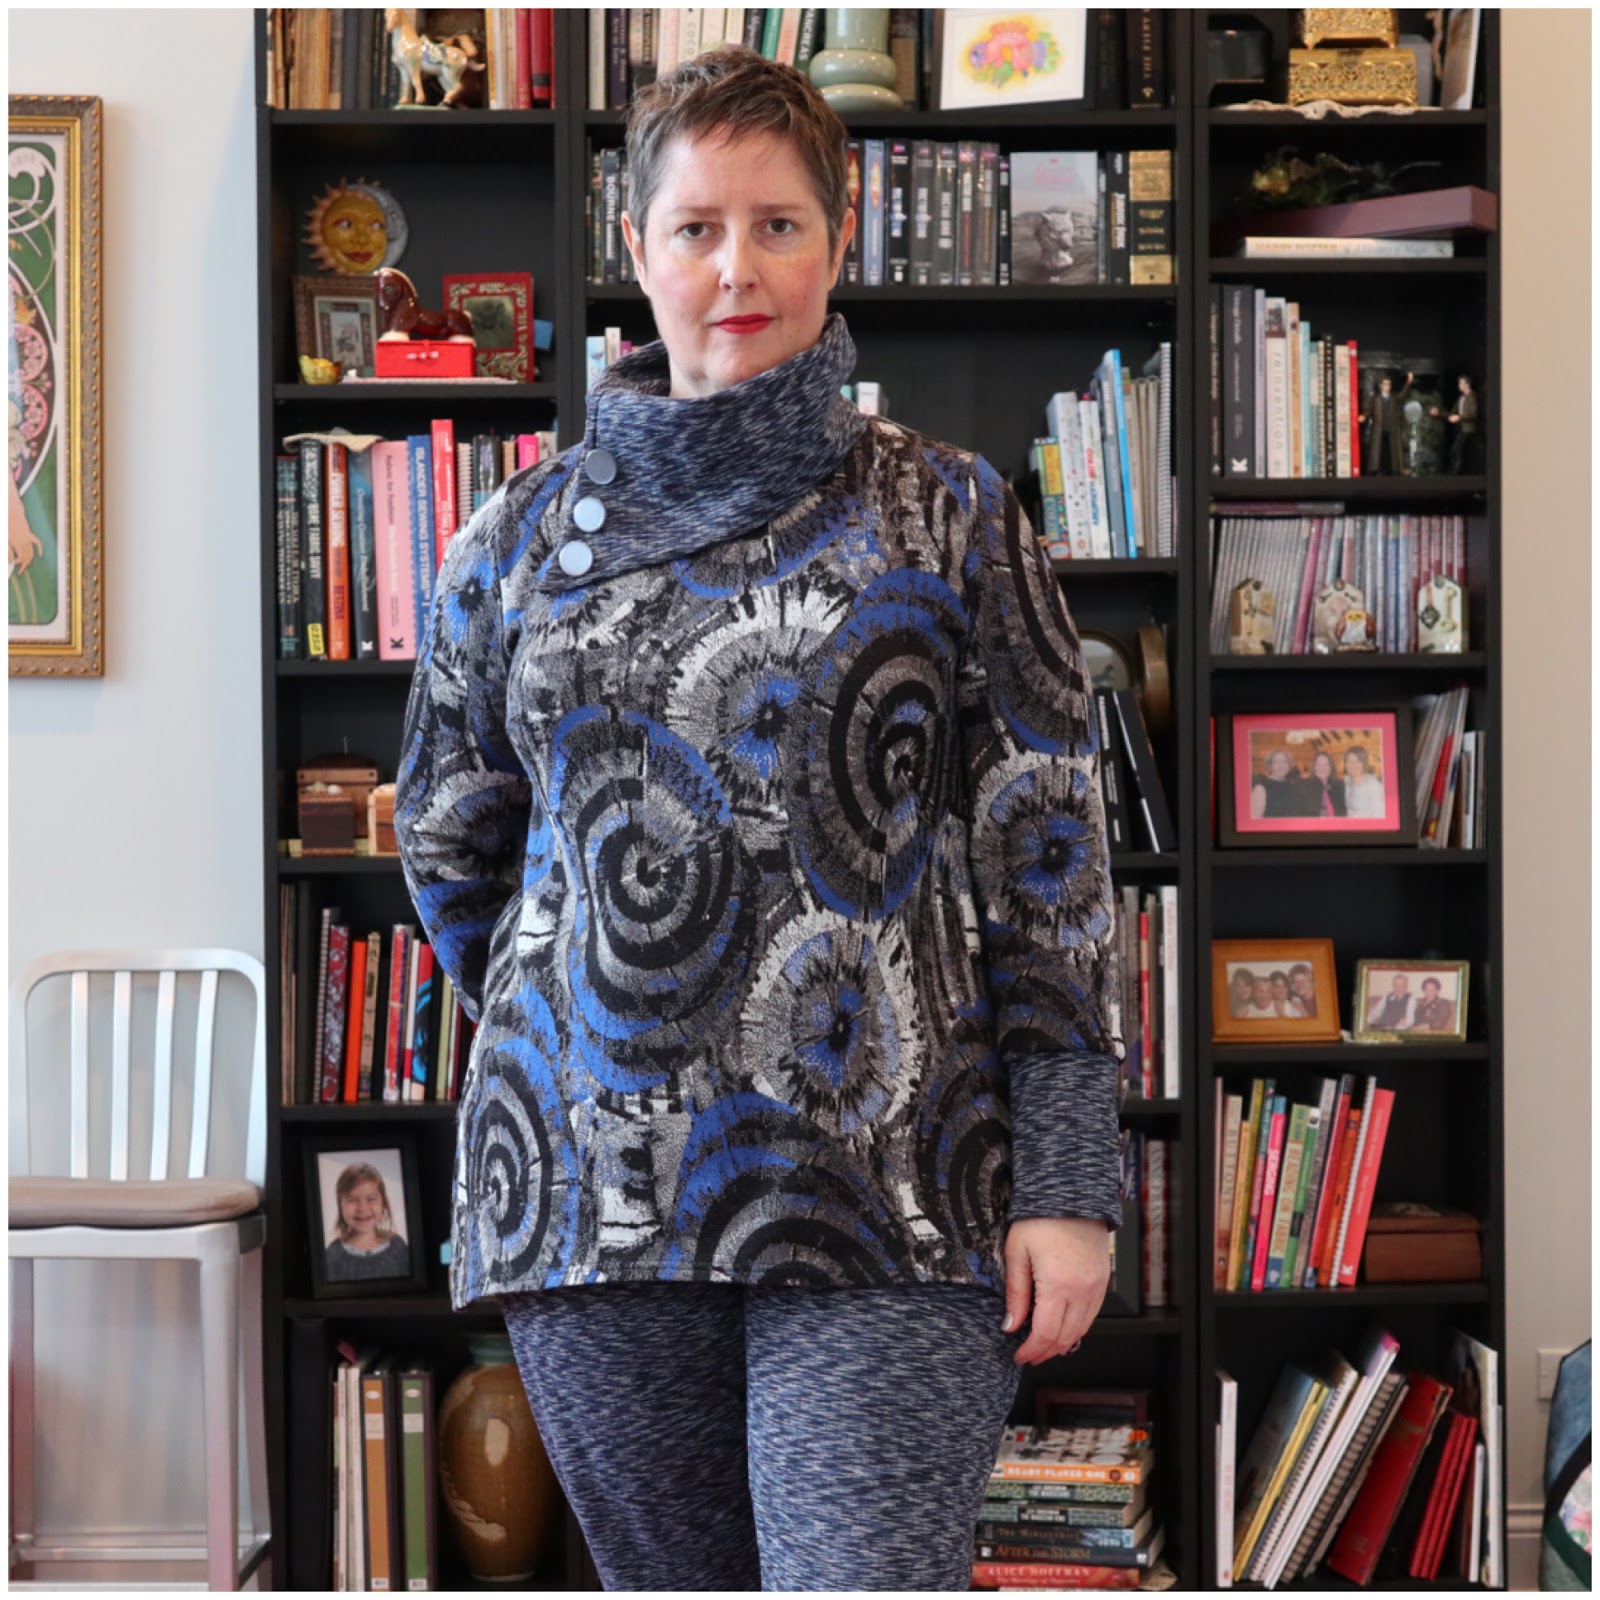
WIP jacket. No lining, .facings or hems yet.
 
So here is the story of how the Velvet jacket came to be.

My sister is an artist and went to work at the University of Southern Mississippi in 1999 as the Department Chair. She stepped back from this position to concentrate on teaching  and to do more art around 2006. Since then she has been head of the 3-D art department and she specializes in sculpture. All kinds of amazing sculpture! From Iron to wood and every sort of substrate in-between. Early in 2019 my sister let all of the family know that she had been accepted for a solo exhibition at an art museum. This is a single person exhibit and it is a big deal. She has been in MANY joint exhibits before and smaller things but this one is her biggest solo exhibit to date.
I am so proud of her and I wanted to do something special for the opening and gallery talk that she is giving at the show. So, I told her that I wanted to give her the gift of clothing. And asked what she envisioned herself wearing. Her answer was a blue velvet jacket.
I immediately went about collecting swatches of all kinds of blue silk and silk/rayon velvets from many resources. Making sure to get 2 sets of each so that I could mail her a set and I could keep a set. Made it easier to discuss. Once a velvet was chosen, a 100% silk navy velvet from Promenade fabrics in New Orleans I went about searching for a lining. This was much easier!! I found this fantastic silk charmeuse print on Emma One Sock. I sent the link to my sister and she loved it, which I knew she would, and I ordered it!
Partial selection of velvet swatches that we worked with.
When discussing style of jacket, she mentioned that she had a black ponte-ish jacket in her closet that she really likes wearing. It makes her feel good and confident and looks good and that she would like that sort of style. So she sent it to me in the mail. I then talked with her about it and took notes on what she liked and didn’t like about it and so on.
It was a basic armscye princess jacket with a slight boxy shape that has a self fabric belt, and asymmetric closing with the buttons running down left side and a large asymmetric roll collar. I did a rub off of the jacket to get a good starting point. It would not be perfect by any means. The original jacket is a totally different textile and was never custom fit to her body. Luckily for me it is a armscye princess seamed jacket so plenty of areas to adjust for fit!

·         Rub off of all the pieces of the jacket.

·         Create a pattern

·         Walk and adjust all the seam lines

·         Add notches and other placement marks

·         Make a muslin of the body only (no sleeves and no collar)

·         Wait until Christmas holidays when she was coming to visit for fitting J

·         Try on and make adjustments to pattern body

·         Make changes to muslin and pattern

·         Draft, make muslin and drape the sleeve.

·         Mark and make all changes to sleeve and armscye on muslin

·         Make changes to pattern

·         Baste on collar

·         Make any changes as necessary for collar

·         Have her pick out buttons from my collection. I had several good options and she picked a set of vintage Czech glass button.

During the fitting of the muslin I had her put on the original jacket to compare and the issues that I saw in the muslin were also in that jacket. Nice confirmation that it wasn’t me that screwed things up! LOL!!  (of course I did not take any full pictures of her in the jacket, we were excited about getting to the muslin!)

After the holidays it came time to start all the hard work! The cutting out of the velvet, the different underlinings, stabilizers and the lining pieces. Then all of the testing.
Cutting out the batiste underlining. When using my rotary cutter I like to weight down the pattern pieces with lengths of chain and large nuts covered in ribbon.

Fussy cutting of the lining to line up the medallion motif.


Looks quite pretty laid out on the floor!

 
Cutting out and working with silk velvet is MESSY! there are silk fibers covering everything. I was constantly swiffering the floor and wiping down the work table. As I trim and grade seams I have been keeping a damp rag nearby to capture as much of the pile as I can.
Time wise it took me 2 days to cut everything out. The velvet needed to be cut single layer to avoid slippage. The Lining needed to be cut single layer to line up motif’s. plus, all the other pieces of underlining and interfacing.
All the pieces cut out and ready for sewing.

I spent a full day doing testing. I wanted to test everything. Regular seams in the velvet and make sure of the stitch and do something long enough to make sure that I worked on slippage issues. The most time consuming of the testing was getting the thread color matched for the buttonholes! Thankfully JoAnn’s near me was having a sale on thread. After trying 6 colors, I found the one that I liked best! During the testing I took copious amounts of notes in my sewing notebook so that I could refer to them as needed. These included all the final stitch settings and pressing settings that I tested.
Test pieces on the left- made in the same way as the actual pieces with the underlining hand basted on and any interfacing fused to the underlining pieces. On the right is the pile of testing that I did.
Part of my testing also included test pressing. Very important to do when using napped fabrics. This is a length of velvet that I tested, half presses on the needle board and half without the needle board you can really see the difference.
 

After all the testing the sewing started! Woo Hoo!

Belt loops and belt pinned to the batiste and ready for hand basting.
First I spent 2 days’ hand basting the imperial batiste to the velvet with silk thread and on some pieces, the collar and cuffs, I used cotton flannel as the underlining. Before the hand basting I made sure to apply any fusible interfacing that I wanted to use to the underling and not to the velvet.

Next I headed to the machine- sewing the velvet to the velvet using lots of fine silk pins and the digital feed foot on my machine. No problems sewing velvet to velvet!
Partial construction. No sleeves, collar or belt loops.
 
Sleeves and collar constructed and ready to be attached.
 
The sleeve cuff is technically a band and interlined with the cotton flannel and here you see how it gives it a lux cushy feel.

Sewing the silk charmeuse to silk charmeuse was just fine as well.

The hard part has been on the few pieces where I had to sew silk charmeuse to the silk velvet… talk about one slippery bugger! The straight part of the seams was fine as long as I went slow and carefully. The big issues came on the curved areas. Sewing the side front silk charmeuse to the silk velvet front facing. One went in okay with me only having to redo it once. The other side I ended up having to hand baste with silk thread in cross hatches to keep everything lined up and even with that plus pins there was a smidge of slippage. Not enough to re-do but seriously! 
Interior pocket pinned on and ready for hand sewing to the right front facing.

The belt loops and the interior pocket were added prior to the lining. The interior pocket was another slippery bugger and I ended up hand sewing the entire thing together and then onto the interior facing piece. I added a fun piece of ribbon to the top of the pocket both for fun and to stabilize the top of the pocket. In order to get the ribbon sewn on nicely I actually used a glue stick on it to hold it to the velvet and then edge stitched it using the Digital Feed Foot on my machine.  This pocket is far from perfect… but, then again, so am I! this quirky fun pocket will stay in to represent the un-perfectness of life.

The needle board from Bias Bespoke in NYC.
When pressing on the needle board you have to be careful to only use the tip of the iron and be careful not to press off the side of the board or you will get marks. The indentations from the needle board brush out quite easily.
 
For all the pressing of the velvet I used a needle board that I purchased from Bias Bespoke in NYC.  I hemmed and hawed about buying the needle board. I did an exhaustive search for needle boards and in the end I decided on this one. It is pretty much the size of a sleeve board and long enough to easily press the seams. It is also flexible enough to ‘drape’ over my tailor’s ham to press the curved bust area. I am really happy with this specialty piece of equipment!

The sleeves were installed and then the collar was basted on and the whole thing is starting to look like a finished project!  Taking photos of this velvet is quite a challenge due to the nap and the color.

Jacket awaiting finishing. Below the brightness has been adjusted to better see some of the details.


Jacket in progress with no belt

Close up of the asymmetrical collar. The drape of the silk velvet with the cotton flannel underlining is just delicious!

I still have quite a bit to do on the project. Sew on the facings and lining and cut bias flannel strips to pad out the hem and then of course all the grading and under stitching, hemming and buttonholes and maybe a couple of small snaps. Most of what is left is all hand work and hopefully I can get it done in another week or two!

Happy Sewing!!
My sister and I

Friday, January 10, 2020

Athleisure Wear- Cashmerette Tobin Sweater and True Bias Hudson Pants

My last garment sewing project for myself in 2019 was this Athleisure wear outfit. This was supposed to be my 'travel' outfit for the Paris trip that did not get done in time.

My new camera uses the phone as a remote, and it is not the easiest to take pics and not show the phone...

The blue/grey/black/silver swirly sweater knit fabric for the top was from my collection from several years ago that I think was from EmmaOneSock and the pants fabric and the fabric for the cowl and the shirt cuffs was from Fishman's Fabrics that I purchased this past spring.


The top is a new to me Cashmerette Tobin Sweater I traced off my sizes based off the measurement chart, using a size 16 on top and grading to a 20 at the hips. After this I overlaid my TNT knit top to check the bust dart placement and the armscye shape. For this first version I did not do the color blocking on the upper bodice or upper arm. I wanted to make sure of the fit before doing the extra work! I did use the fabric from the pants for the collar and the cuff to tie the top and bottom together into a cohesive outfit. The buttons for the sleeve and collar are just decoration, no buttonholes necessary. I just happened to pick these up for free at a sewing meeting and hadn't yet put them away. They match perfectly!

Taking pics of myself is never easy but ALWAYS funny!! I look like I'm trying to channel my inner Wonder Woman!!

This top is View A collar and cuffs without the color block and View B body length. The fabric for the collar and cuffs is a stiffer double knit and it really holds its shape.

The Tobin Sweater line drawing from the Cashemerette website.  from top to bottom- View A-B-C
Other than a very small tweak to the placement of the bust dart and grading between sizes, I made no other changes to the pattern. my hope for this version was that I could wear it out of the house and into the public arena without showing off my butt to the world. I am very happy with the outcome. It is a perfect length to wear with joggers or leggings and be OK to run to the store or out on errands.

I am looking forward to making more versions of this sweater! I want to experiment with different knits, color blocking and different lengths. There are so many different options and opportunities to play with this sweater!


My favorite knit jogger pattern is The Hudson Pants from True bias. I have made this quite a few times and have a TNT pattern that has been optimized for my fit. There are many different jogger pant patterns out there. I really like the fit of the Hudson pants and the pants length and leg width's are just what I like. Not skin tight leggings yet not big, ugly sweatpants. The fabric for the pants is an ponte- double knit. and the cuffs is a black rib knit from my stash. Of course after I completed these I found Navy blue rib knit for cuffs... oh well.

You can see on the back of the legs that I have some extra fabric pooling above the knee.  In an early version I did a test pair to remove this from the pattern. However this then makes the pants less useful for what I want for a pair of knit joggers. Like bending, crouching, kneeling and all types of moving around. When my leg is bent as in this kneeling photo the length of fabric being taken up is more than when just standing. Hopefully that makes sense.
 

However, IF I was to make a fancy pair of these that would be worn for going out and NOT for moving around then I would remove this fullness. In my head I think of a fancy pair of knit gold lame or some other super fancy fabric! Now that could be a very fun idea!


Happy Sewing!!
For my birthday we went to the Botanic Garden for the light show. It was so much fun to share this special event with the Princess! The lights were beautiful and we were very happy!!!
Add caption


Friday, January 3, 2020

How Nature inspires Fashion- a quick look at Birds

I love the the use of color in fashion. Colors make me happy and make me feel good and I have a lot of fun putting different colors and color combinations together. I am not professionally trained in design and everything I do or create is more or less an experiment and from self learning by reading, watching or simply by experimenting. The world has so many ways for us to learn!

The use of color in fashion has always been a source of pleasure for me and so has the idea that there are no new ideas is fashion and art, just re-interpretations on what has already been done. There may be new mediums and fresh and different ways of looking at things but rarely is their something that can actually be called new.

The other day I was in the Chicago Field Museum. I live fairly close by and I like to go in and just take my time and see a gallery or two. Really see them and try to think of them in a different way then when you are rushed or trying to see an entire museum in one day! I try to keep these visits low key and not go into overload. This is one of my great pleasures of living in downtown Chicago.

I decided to explore the Birds of the World exhibit. This is an old school exhibit with stuffed and mounted birds of every type, even ones that are now extinct. (Which is a whole different conversation!) As I was slowly making my way through the exhibit I was struck by the beauty of many of the birds. I like birds in general, especially song birds and birds or prey. However, I especially like the birds of many different colors! I was immediately struck with the notion that nature did it first! Long before we were able to produce so many amazingly colored textiles there were these strikingly beautiful birds. 
Here are some examples of a few birds and some corresponding colored fashions to go with them!

The bird photos were taken by me and the fashion images were taken off of google images. I blocked out faces on those images.
I hope you enjoy this little bit of inspiration from Nature to Fashion.


Through much of my design work with Sarah Veblen over the past several years , I have learned to let myself ‘see’ inspiration in the world around me! It was so much fun to explore, in my own little way, the relationship between beautiful bird plumage and the use of colors and color combinations in contemporary fashion. 

Happy Sewing!

Wednesday, January 1, 2020

Hello 2020!!! A quick re-cap of 2019 and looking forward to a new year.

Happy New Year! I hope everyone had a safe and fun New Years! Mine was quiet and I did not make it to midnight, at least not in my own time zone. Hehehe.

I was tired this New Year’s Eve and that is OK, I had a wonderful birthday the day before and took the quiet evening to spend some time thinking about the past year and reflecting on all that has happened over the year and I spent some time thinking about my sewing/designing and creativity  and how these are all such an essential part of my life.

All of the fun posts on everyone’s ‘Top 5’s’ have been fun to read! I appreciate all of the work that goes into those blog posts. Originally, I thought that I would join in and do my own series of Top 5’s but I just couldn’t get into them. My sewing and creativity is no longer a hobby, it is an integral part of myself and it just felt weird trying to pull out a few points of what worked and what didn’t. Maybe I am being way too introspective!! So instead I am just going to do the highlights of my past year and some fun stuff planned for 2020.

The Good Stuff that happened in 2019-
1. I had the amazing opportunity to mentor and work with a High-School senior on her year long project on the intersection of her faith and her fashion. Iris is an amazing young woman and she has enriched my life and working with her gave me fresh perspective and a different way of seeing some parts of life.

2. I co-chaired, with my awesome daughter, the Haute Couture Club of Chicago’s Annual Fashion Show! That was one hell of an undertaking! I could not have done it without Melissa’s help and without the help of my amazing friends!

3. I very much enjoy co-leading our American Sewing Guild downtown Chicago Neighborhood Sewing group- Sew Chicago. Getting together on a regular basis with this group of women is just good for my sewing soul!

4. There were TWO wonderful family weddings this year :) One for my older brother and his long time girlfriend, Jackie. It was so nice to see 2 people so in love give marriage a second chance!! The second wedding was for my nephew, Mike and the love of his life, Sarah! May they have a long and wonderful life together!! The best part about these weddings was that the family got to be all together!!! That and sewing new party clothes for the weddings!

5. I took an advanced design course with Sarah Veblen. I love to learn and Sarah just has a fantastic way of getting me to think outside my box and push me in directions that maybe I have never thought of going! I have learned that it is okay to explore and push the boundaries and test things out and then it is also okay to step back and really take my time to think about and feel these new things out and either keep going or turn and try something else.

6. My best friend and I spent 2 weeks in Paris!! We did the Susan Khalje Paris Tour, an item that had one been on my ‘bucket’ list, and we stayed an extra 5 days to explore Paris on our own, It was amazing!!!!! 

7. Spending the Christmas Holidays hosting my parents and my sister. This was the first time my parents have been to visit me in my new home and see my new life since the divorce several years ago. I didn’t realize how important it was to me that they come and see for their own eyes that I am OKAY and happy and thriving until they were here! It was like the inner little girl in me was saying- look what I did!! SO funny, the feelings that we notice if we pay attention.

8. My little family- my daughter, son-in-law and my granddaughter. They mean the world to me and I am so very lucky to be close to them! 

And last but not least....
9. I changed my name back to my maiden name!!! I am now a Torres again! And it feels wonderful.


The Bad Stuff that happened in 2019-
Well, I don’t like the bad stuff and I seem to have a real knack for letting those things go (thank goodness!!). The biggest bad thing that is always a part of my life now is my chronic pancreatitis. It sucks and I have had to adjust how I live my life due to it. I had one major flare up this year that put me in the hospital for a week and took a solid 3plus months to recover from.  Due to this, I felt like I lost my summer of 2019. All of the things that I wanted to do over last summer are now pushed to next summer. There were also a number of what I call minor flares- where I can treat myself at home with my doc’s guidance. I also spent quite a bit of time re-doing a bunch of my sewing projects. All of the lovely creations from the first half of the year had to be taken in or they were unwearable. Part of a CP flare is rapid weight loss. Well, Enough of the bad stuff!! We all have the bad stuff and no one likes to dwell on or in it!


2020 here I come!!
I am excited for 2020. There are a couple fun things already on the docket!

1. Any time that I get to spend with my little family and my granddaughter is precious to me!

2. My sister has a big art show coming up in March. Members from the entire family are going to converge for a long weekend to celebrate the opening together and here her gallery talk. I am making her a silk velvet jacket for her to wear to the opening. 

3. I will be attending  Camp Workroom Social ‘Wardrobe Week’ - really looking forward to that and then spending a couple extra days in NYC.

4. A spring sewing/design workshop with Sarah Veblen in Chicago!

5. My daughter and I are going to Morocco for 3 weeks this coming fall!! (Another ‘bucket’ list item!) This trip will stretch my sewing skills in a new direction!


So, as you can see I have so many things to look forward to and so many wonderful memories to enjoy!
I wish everyone a happy, healthy and creative 2020!!!

Happy Sewing!