My very first ASG National Conference!
I attended with 3 others form my Neighborhood Group, Sew Chicago. Since the conference was held in Indianapolis we decided to rent a minivan and drive down together. We had an excellent and, more importantly, an uneventful road trip.
 |
Enjoying a night out together with friends!
L-R Top- Stephanie King, Sarah Veblen, Liz C
L-R bottom- Wendy Grossman, Monica M, Linda A |
There are many different classes to choose from, ranging from all day hands-on workshops, half day hands-on workshops, and 2 and 3 hour lecture classes. There was a vendor hall with a demo stage and depending on the type of registration you had breakfast and lunch were included.
I choose to go for quality over quantity when it came to classes and did only full day and half day workshops. This also helped from feeling overwhelmed by too much subject matter and ideas, as it was we had a non-stop pace going!
The classes that I took were:
Developing Flattering Necklines with Sarah Veblen- all day workshop
Fabulous Shirts and Blouses with Marla Kazell- half day workshop
Innovative Set-In Sleeves with Sarah Veblen- 3 hour lecture/trunk show
The Tee Neckline Workshop with Jennifer Stern- Hasemann- half day workshop
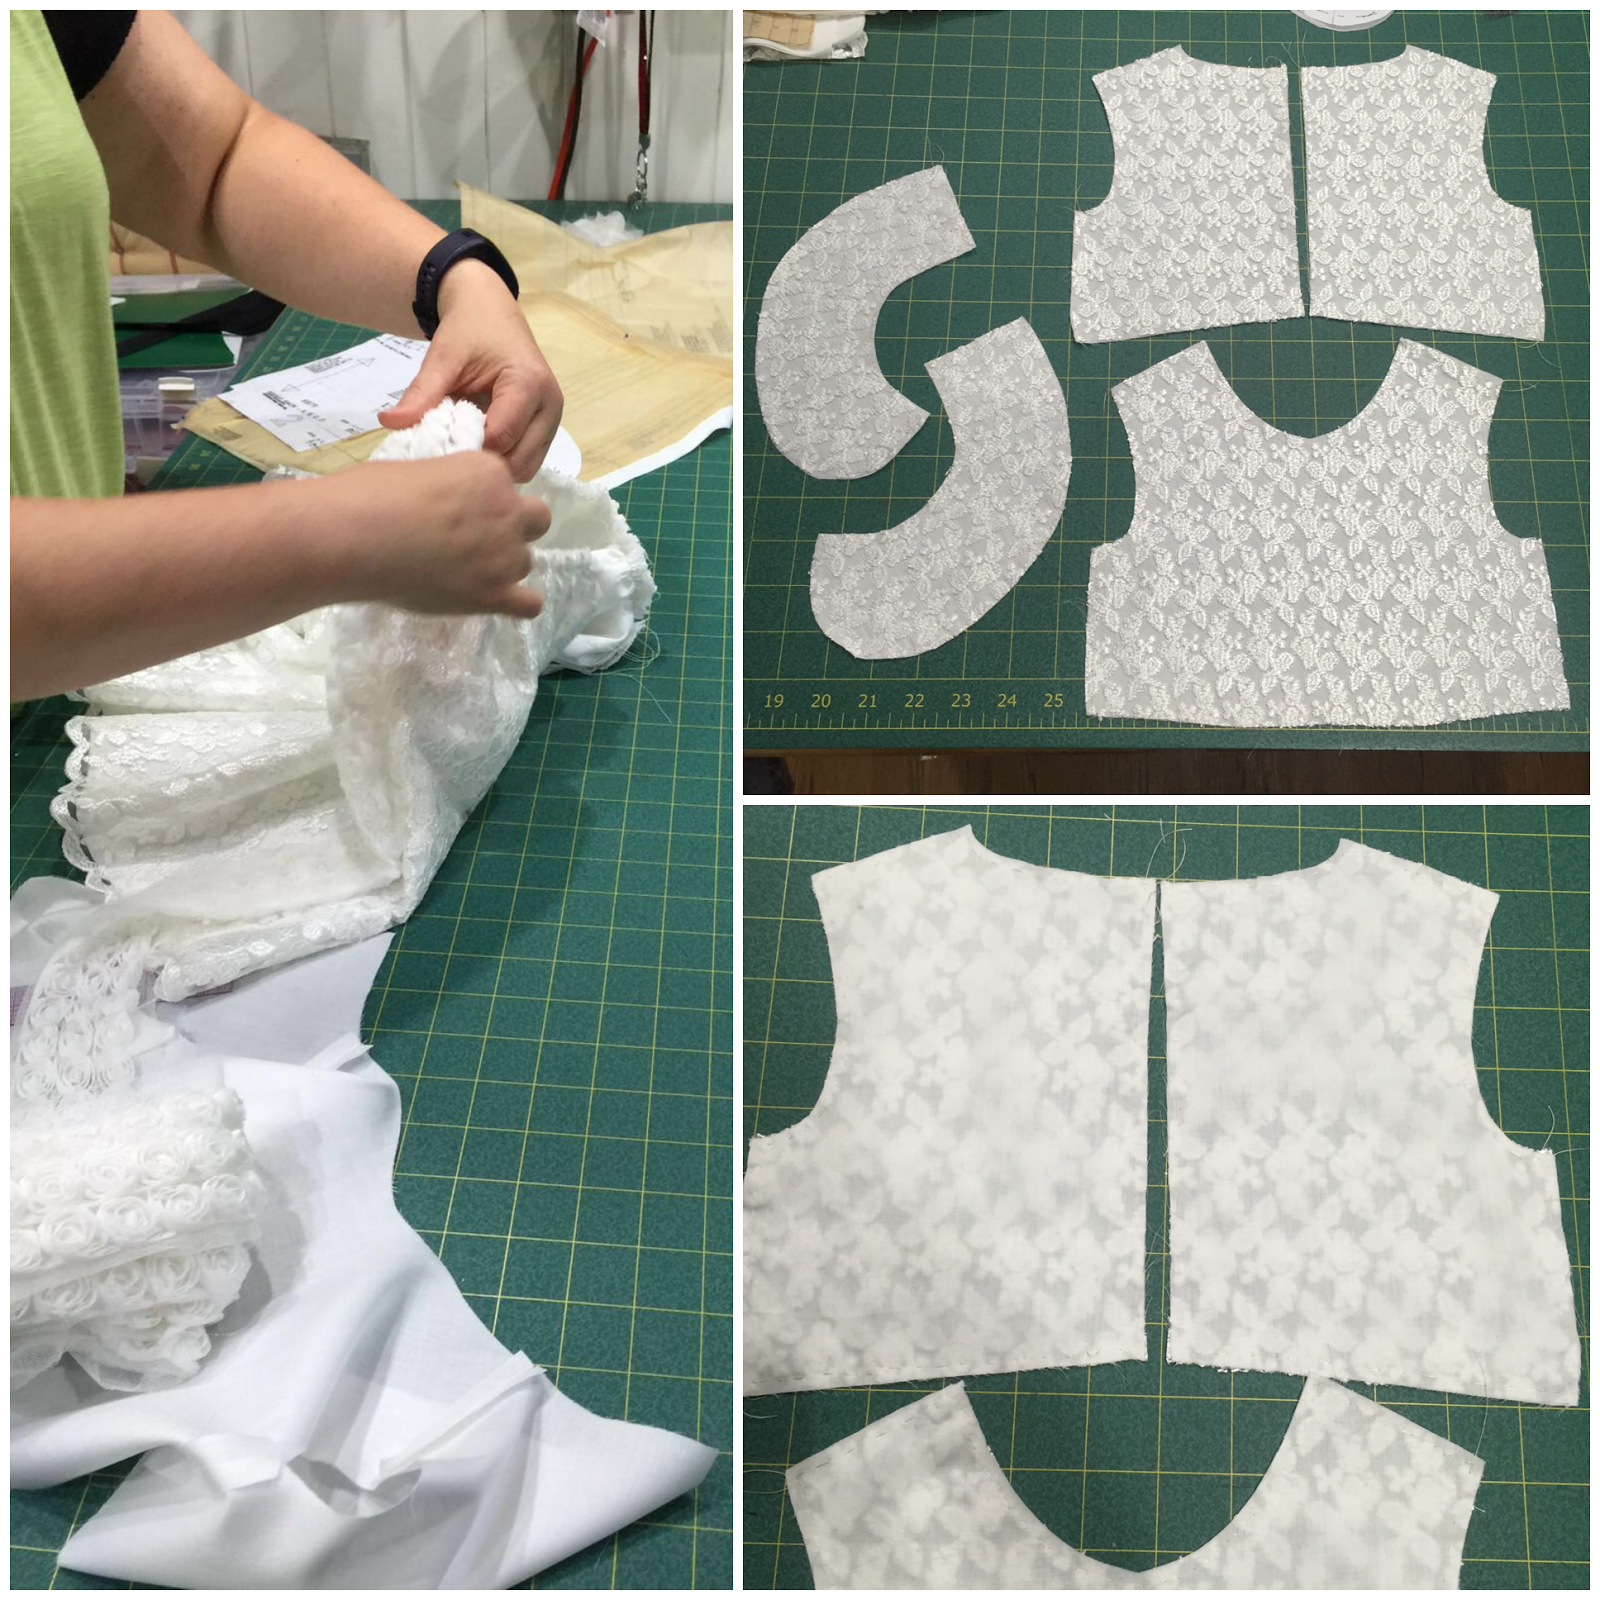
Easy Heirloom Techniques for Modern Sewing with Vaune Pierce- 3 hour lecture/demo
Easy Zippers- Easy Waistbands with Janet Pray- all day workshop
Before I go into a quick review of the classes, I want to also mention that the Friday Lunch Keynote Speaker was Linda Przybyszewki author of The Lost art of Dress. She gave an excellent talk about the dress doctors and how the art of dressing has changed over the past century. She was also available in the later afternoon to sign copies of her book and of course for a photo opp! She was quite lovely, Wendy and spent some time chatting with her and would have continued on for longer if there hadn't been others patiently waiting.
I also participated in the fashion show. Wendy and Sarah both encouraged me and I showed off my iART jacket and culottes and my French jacket ensemble. The french jacket was done as a grouping. Sarah Veblen, my mentor along with Monica and myself who are both students of Sarah's showed off our french jackets together. It was great fun!
Back to my learning experience...
Developing Flattering Necklines with Sarah Veblen- all day workshop, Thursday
I really enjoyed this workshop. It was broken into part lecture, part hands-on and part show and tell. Sarah was assisted by Monica so there was plenty of hands on help in the class of about 15 participants.
Wendy and I paired up in the hands on portion which was really great. We have a very good trusting relationship which made working together intimately much easier. The lecture portion went through a handout of different photos of necklines were we had group discussion about what we liked and didn't like and really trained our eye to see shape and proportion of necklines and how this effected the entire look of a garment.
The hands on portion consisted of us breaking into pairs and working on mock-ups that we brought with us to develop necklines. For my necklines we worked on finding an acceptable jewel neckline, a modified boat neckline, a soft deep V neckline and a 'swoopheart' neckline. These were all done on mockups of my master pattern so I can easily transfer the changes to my main pattern for different variations.
 |
| Sarah Veblen demonstrates how to draw a new neckline while using a mirror and physical landmarks to find the best flattering shape! |
 |
| Here Sarah Veblen demonstrates hoe to transfer the necklines drawn on the body to the pattern. |
 |
| Two of my necklines developed with the help of Wendy Grossman. I love the 'swoopheart' on the left in the photo. |
 |
| A very happy class with many new necklines to play with! |
Fabulous Shirts and Blouses with Marla Kazell- half day workshop, Friday morning.
I have to admit that I went into this class with an open mind and little expectations. I have never taken a class with Marla before. I really enjoyed this half day workshop. It was well thought out with an engaging handout that encouraged hands on play during the workshop. Shirts and blouses are on my list of items to work on this year and this workshop gave me many ideas to work with. We played with 3 different hidden plackets, multiple design changes with dart manipulations and many more ideas on how to change up a well fitting shirt pattern.
 |
| Marla Kazell presented us with a great handout to follow along in the class and plenty of play materials! |
 |
| Some examples of my dart manipulations in 1/4 scale. |
Innovative Set-In Sleeves with Sarah Veblen- 3 hour lecture/trunk show, Friday afternoon
This was another great half day workshop put on by Sarah Veblen. The relationship of the sleeve to the armhole has been a tricky one for me to wrap my head around. It was not until I started working with Sarah that I was able to fully grasp the entire concept. Frankly, armholes and sleeve caps terrified me. I was never able to get them both looking good and fitting well with out some compromise that I just didn't want to accept. Sarah spent the afternoon explaining her method of first fitting the armhole to the body and then going back and fitting the sleeve to the armhole in a way that also fits the arm in a flattering way. In many situations this means an outer arm seam or as she showed in this truck show, many innovative ways of seaming the sleeve cap to achieve fit without the use of an outer sleeve seam. I left this class with many fine ideas floating around in my head!
 |
| example of an innovative sleeve with a horizontal seam to remove excess ease in the sleeve cap. |
 |
| Demonstration of how to manipulate sleeve pattern pieces to change both design and fit. |
The Tee Neckline Workshop with Jennifer Stern- Hasemann- half day workshop, Saturday morning
This hands on pattern manipulation workshop was all about taking your well fitted J STern Designs Tee pattern and changing up the neckline. This was a fun, no stress, hands on class for me. I really enjoyed the time just playing with different neckline shapes to be applied to this great Tee. Jen Stern is a lovely teacher that is full of kindness, patience and encouragement and really wants to give back to the sewing community. I thoroughly enjoyed this morning class!
 |
| Wendy and I with Jen Stern- Hasemann |
 |
| Jen Sern- Hasemann demonstrating the ease of changing up the neckline of her Tee pattern. |
 |
| Example of how to turn the boat neckline into a funnel neckline. |
Easy Heirloom Techniques for Modern Sewing with Vaune Pierce- 3 hour lecture/demo, Saturday afternoon.
This was the one class that I just did not take to. It may be for many reasons. I was tired, it was a busy morning with a half day workshop and then 2 Plus hours for lunch and the fashion show, the class was supposed to be hands on machine sewing but through scheduling difficulties got changes to a lecture/demo style class. I did not stay for the entire class. I only made it about halfway through and then decide I was too bushed to continue. Another time.
 |
| beautiful examples of lace insertion and entredeux |
Easy Zippers- Easy Waistbands with Janet Pray- all day workshop, Sunday
This was another class that I went into with little expectations. In fact, I thought to myself as I was signing up for it that if I didn't like it that I didn't have to stay for the entire day. Well, let me say that I was so [pleasantly surprised! Janet Pray lead a wonderful workshop and I learned many good techniques to enhance my sewing skills. We practiced on putting in a slot zipper and a lapped zipper as well as how to use the burrito method for finishing waistbands, In fact I went home and practiced her methods on a muslin that I was putting together for a pencil skirt. The class was well paced with everyone having time to finish their examples however, we never seemed to be waiting. The class was conducted in a lecture-demo-hands on method.
 |
| Wendy working on easy 2 fabrics together without any pins! |
 |
| Examples of our slot zippers inserted with no pines andlooking great... the zippers look great! |
 |
| Wendy and I with Janet Pray at the end of our very successful day long workshop! |
Between classes and at the end of the day, there was time to do some shopping at the vendor area. It was not overly large. However, I felt that there was a good collection of vendors. there were some things that I was hoping to look at and purchase but was unable to because of lack of vendors. no scissors, no thread, no large cutting mats, no irons or big boards. Probably best that they were not there otherwise I would have spent a lot more money!
 |
| Just a little bit of fabric shopping! |
I had a wonderful experience at the ASG national conference. Will I go again... depends on location, dates and, most importantly, the quality of the teachers.
 |
| Downtown Indianapolis from our hotel room. Beautiful view of the statehouse. |
 |
| Sunrise over Indianapolis on our last day! |
Have you attended any national conferences? If so, i'd love to hear which ones you found had a great variety for garment sewing.
Happy Sewing!
 |
| Me and my grand experiment of vertical cucumber gardening! |