Wednesday, August 11, 2021

Summer Sewing 2021: West End Pants


I am so behind on blogging!!  This spring was spent on moving and setting up my new home and sewing space (see previous post for sewing space photos!) The later spring and early summer were spent on getting my knee fixed and sewing some clothes that actually fit and enjoying getting to see people again, even if it only lasted for a little while. I really made a decision to put blogging aside just for a little while. I have a feeling that with this new Delta variant that there will be plenty of time now to catch up on the solitary indoor activities… like blogging!

Earlier this spring I made the decision to do a make nine suduko style SWAP (sewing with a purpose) and these pants were a part of that plan.

Pattern: The Sewing Workshop West End Pants. I started with a muslin, right now there are muslins and/or wearable muslins being made for almost everything due to all the weight loss from last winter. The Sewing Workshop has a variety if sizes with the regular sizing being XS to XXL max hip of 47.5 inches and the Plus size collection goin up to a 5X or max hip of 61 inches. 
The pattern that I have is a paper pattern that only goes up to XXL. I ended up cutting a M or size 14.
Fit Changes:  I made some adjustments to the waist  placement/ shape and I scooped out the back crotch to give me a little more length/room in the back crotch due to my booty shape.

Design Changes: None! Other than those small fit changes mentioned above, I made the pattern as is and I am very happy with it! These are super fun and comfortable wide leg, cropped, elastic waist linen pants and the color is just the best!! 

What I really like about these pants: the elasticized waist is done just right, enough to be comfortable and pull on pants but not too much that it feels overly bulky. I made mine so that the pants just slip over my hips and then gathered in the rest from my hip to waist with a nice wide elastic. They also have pockets!! For me pockets are a must and every time I make a garment that does not have pockets i am mad at myself for not adding them. These pockets are nice and big and they do not gape open. Last but not least, I like my butt fit in them, after i did a little scooping they looked perfect and got rid of the dipping HBLS in the back (Sorry- did not take a picture in the muslin, was just quite in the sewing zone!)


Fabric: The fabric is a Merchant and Mills linen from Oak Fabrics. Excellent weight for pants and a dream to work with. I did wash and dry the fabric twice before I cut into it. Linen just likes to shrink and I like how linen just softens up with washing. Since making these I wash them and damp dry them in the machine and then hang to finish drying. If I do it this way then there is no need for ironing and then they also last much longer. The fabric was a bit on the expensive side but it was well worth it, such an excellent bottom weight, dress weight (no need to line) or a light jacket. 
The pattern was brought to my attention by my roommate from the American Sewing Guild Hong Kong trip that I took in 2018. She wore the West End top and i really liked her version so purchased the pattern when I got back home and finally got around to making it! More on the West End top in a later post.

Construction notes: Nothing special! These are a very straightforward pair of pants with a nice drafted pocket and separate waistband. for the most part pants construction is straightforward, the challenge lies with the fitting. 
The top that I am wearing in these photos is a self drafted t-shirt pattern that I use as my TNT knit master, also a part of my SWAP.


I have worn these pants several times already this summer and I really am loving having them. A lovely bright and fun pair of summer pants and they are highly reflective of me and my personality. I bring that up because I have been trying very hard to be intentional in what i am making and adding to my wardrobe or refashioning to fit my new body shape. There has been a lot of reflecting on how my lifestyle has changed right now due to the ongoing pandemic. As many people i am dressing a little more casually but I refuse to be sloppy! I love color and i love to look nice and I love to create so changing gears a little bit to creating fun and high quality clothing for a more work from home life has been interesting. 


These pants fit right into that plan. I can dress them up or down and I can wear them out for lunch with the ladies or wear them while sewing and walking my little dog, They are quite versatile and i feel good in them. I suppose in the end that is all that counts!!


This is definitely a pants pattern that I will make again. I am thinking another pair in linen or maybe a wool lined pair to wear with tall boots in the fall and spring. They could also easily be lengthened into full length for a very dramatic pair of viscose/rayon fluid pair! So many possibilities:) 

Happy Sewing!!

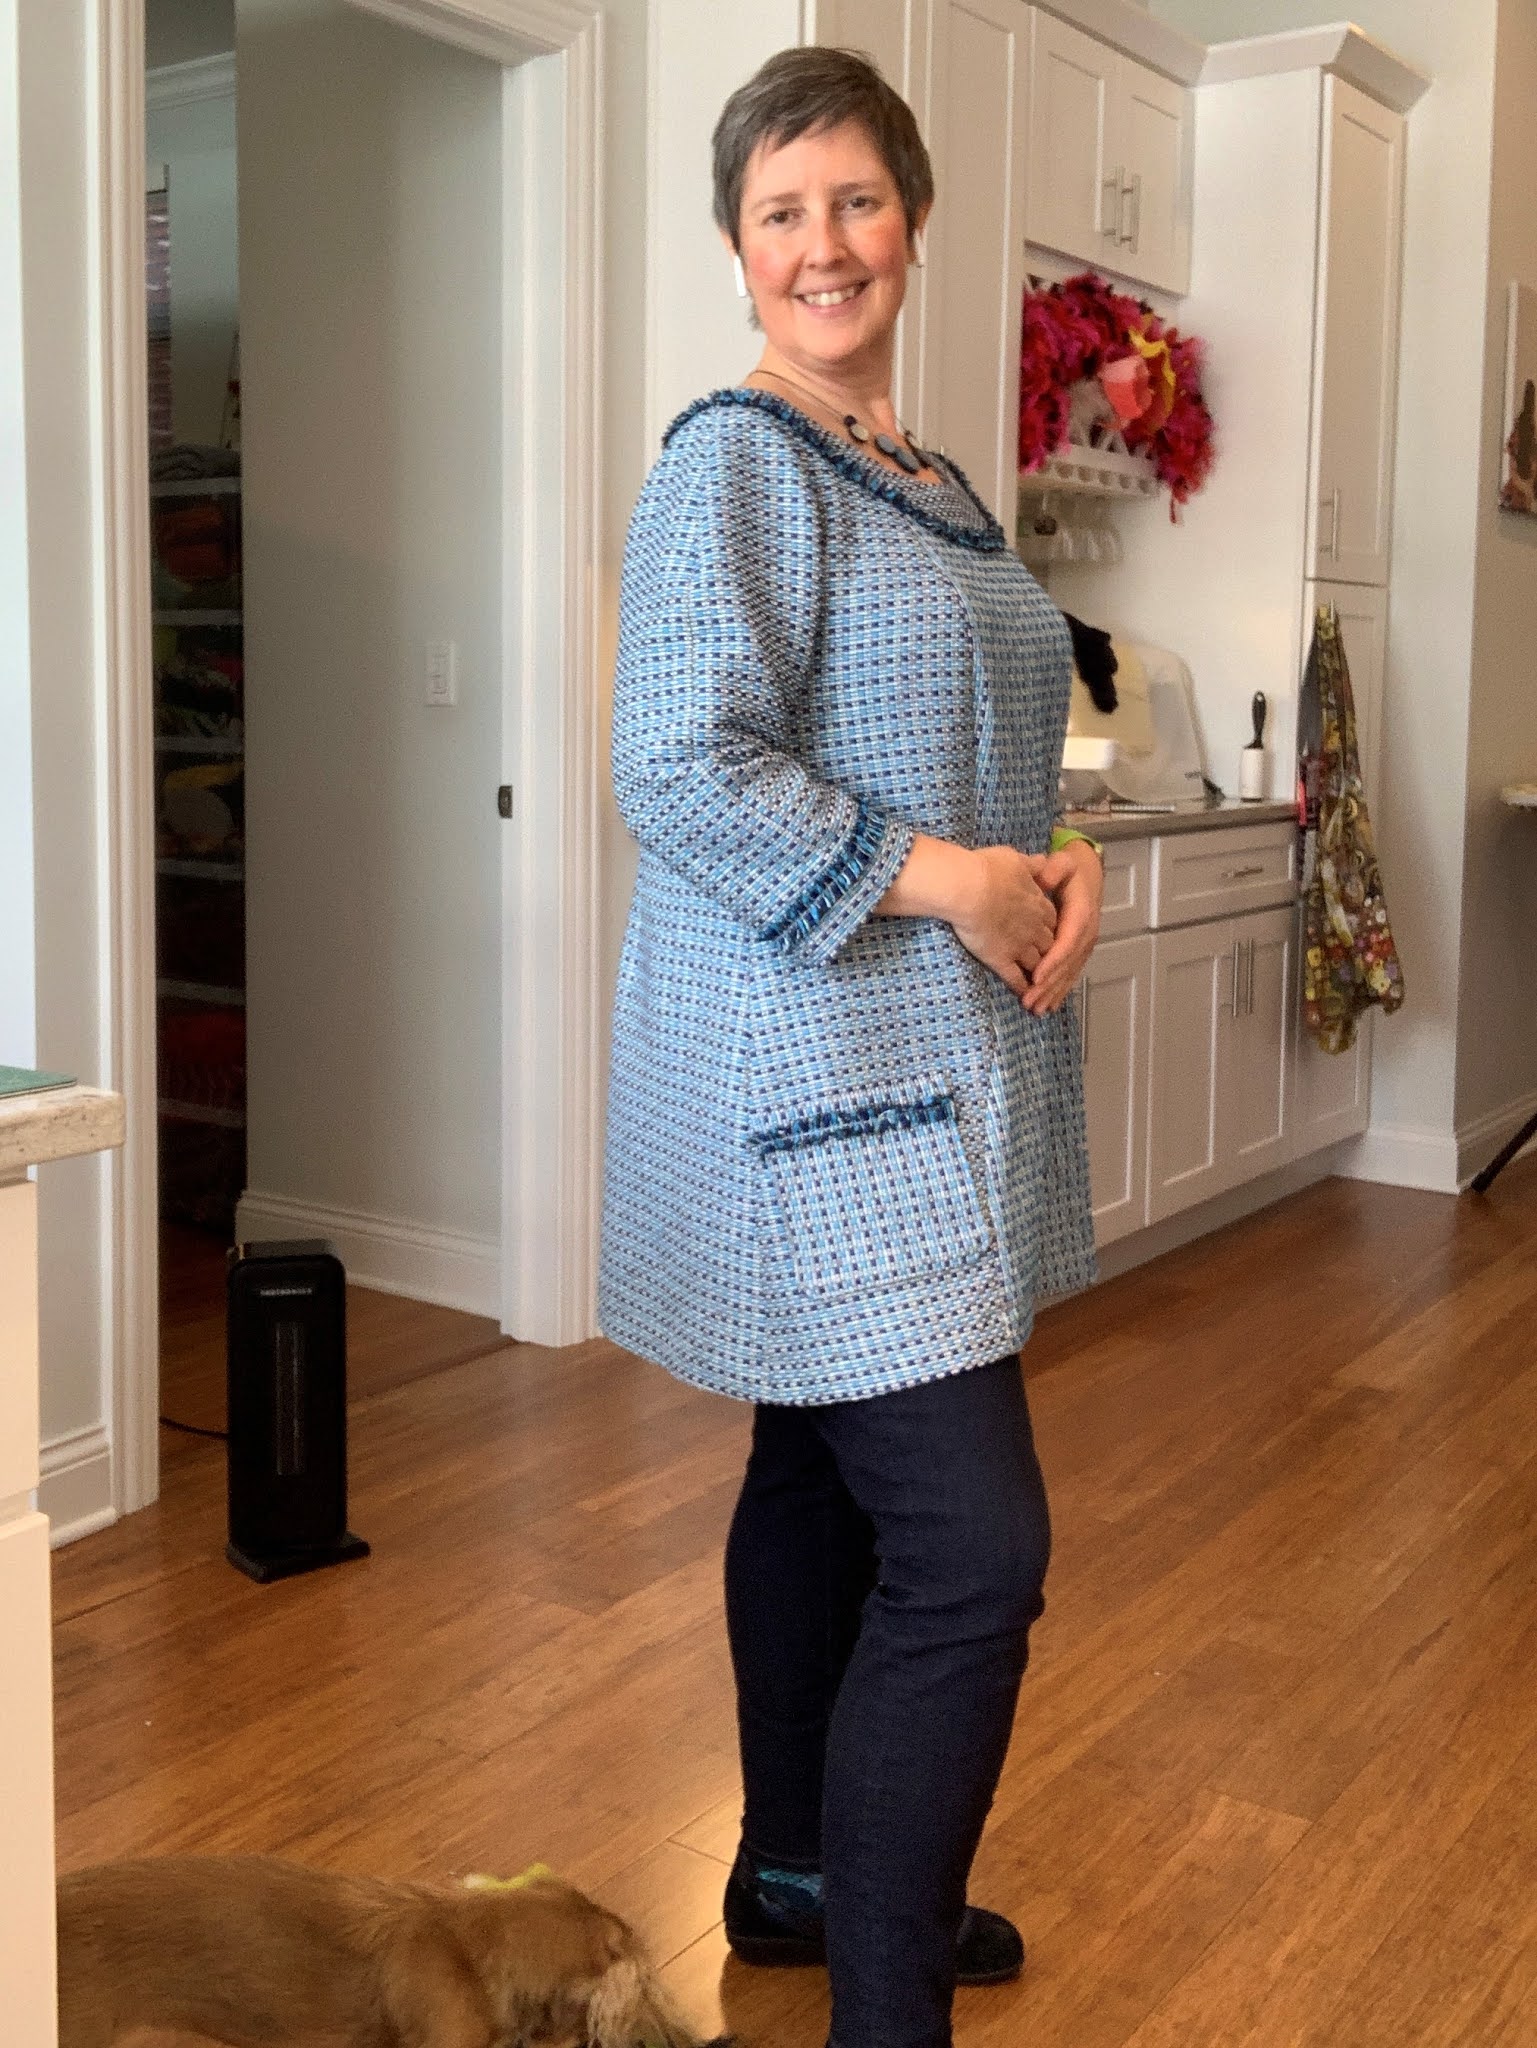
Below are a couple photos from my pants in action, they worked great for a girls family outing on the Chicago river. 


Friday, July 2, 2021

New sewing space!

 I can't believe that we are into July and I have not posted anything since February!

SO much has changed the first half of 2021.

- I moved! 

- My new apartment is a 2 floor townhome over looking the Chicago river with killer views of the Willis tower (aka Sears Tower) and loop buildings. Which was a total surprise for us!! 

- I love my new living and sewing space AND I am now living with peoples again! My daughter and granddaughter and I are all cohabitating and it is so dang lovely. 

- My new sewing space is coming together quite nicely! It is split into 2 spaces- Upstairs which is mostly storage and downstairs which is the actual sewing space.

Here are some pics of my new space!

This first batch are from the downstairs main sewing area that is incorporated into the main living area. There are 2 sewing machines side by side, one is mine and one is my daughters. The serger is against the bank of windows overlooking the river.

There is a large work table that now has a full size custom Rhino cutting mat that is 36 by 55 inches and has book cases on each side. This side showing is my side :)


The view of the river from my serger! 


My new yellow chair for hand sewing and perusing of my sewing and design books! a super comfy spot.

This next group of photos is from my upstairs area which is a part of my master bedroom suite. I have my patterns stored in 2 small filing cabinets, my fabrics are stored in 2 areas. Knits and cotton skirtings and denims as well as my button collections are in the covered storage shelving.

Half of my master closet has the rest of my fabrics hanging and I totally love it. 
Lets head upstairs!


Comfy happy nook in my master suite. 


The colors of my fabric hanging in my closet make me so damn HAPPY!


I hope you enjoyed the tour of my new sewing space! 
Having a good space to sew in really makes me happy and fosters my creativity. My new DittoForm will be here this week and I am looking forward to creating new designs for my new body! 

Happy Sewing!
Enjoy this parting photo of Arya under my newly finished wool applique pillow.


Friday, February 12, 2021

Notes on Mentorship- Developing an idea into a garment- Curvy Princess Seam Tunic- AKA The Inauguration Tunic!


The last tunic that I worked on in my 4 month mentorship project is what I am calling the Curvy Princess Seam tunic with a yoke OR more affectionately as my Inauguration Tunic!!


1.   Just a quick recap of how I got here.

2.   Started with a well fitting master pattern of my tunic.

3.   Used a sketch done in Procreate on my iPad to create design I really liked.

4.   Used an approx. ¼ scale pattern to practice the flat pattern work to be done to original pattern to get to new design.


This tunic development started a little differently. I worked in the mirror and decided how wide I wanted my yoke and then drew that on the pattern and then just sort of drew in curvy lines for Princess seams. When I tried to tape these out it was a bit of a mess, so I just went into muslin. However, when I was drawing these curvy lines on the pattern I wanted to accentuate the natural curves of my body so I made sure those were drawn with the thinnest part at the waist and then wanted to make sure the curves were smooth as well as being well defined and very curvy!

Some example drawings that I did on IPad in Procreate app. Playing with different ideas of color blocking and print blocking.


This design was symmetrical so I was able to modify the pattern on the half, I started with my flat pattern changes to get to my new design.

This is what I did:

Front Pattern (most changes)

  • 1.   Kept the shape of the neckline the same

  • 2.   Drew in the yoke

  • 3.   Drew in the curvy princess seam

  • 4.   Added in notches along the seams and cut the pattern pieces apart

  • 5.   Closed the bust darts on the bodice to transfer them to the princess seam.

Back Pattern

  • 6.   Added in back yoke to match the front yoke. Incorporated the back shoulder dart into the yoke seam.

Sleeve pattern – no changes


Once I had these changes made on the pattern paper. I once again pulled out the tracing paper and traced these onto a clean pattern paper and added seam allowances on the muslin.

I made only one muslin for this tunic. I did this for 2 reasons. One I was being a little lazy and 2 I had PLENTY of fabric to make 2 Tunics if I totally botched this one up. Also, seeing that all the changes were in the princess seams I felt pretty confident that I could accommodate changes made in the first muslin. Of course making sure that the princess seams walked and had smooth curves.

Used the muslin to refine both the fitting and the shape/placement of the princess seams.

As you can see in the photos of the muslin I made some changes to the shape of the curvy princess seams and carefully pinned these changes in. When I was happy with how it looked I then transferred the changes to the pattern.


The second question of this tunic was how to give it some punch. I wanted to play with highlighting the seams and adding some pockets. Making sort of a play off of Chanel designs.

The first design consideration that I made was to cut the center panel on the cross grain vs the length of grain. If you look quickly at the garment you may not even notice! However, I think it gives it a nice subtle effect and just gives your eye a change in pattern to highlight this center panel.


Second design consideration was addition of trim. This fabric was perfect for deconstructing and making into a trim. I started with cutting a piece both lengthwise and crosswise to see what it looked like. Pretty apparent which one I wanted to use! I then cut a couple different widths and did some tests with how to create the fringe. I made several long pieces and then just started with pinning them onto the garment and seeing how I wanted to proceed. I did actually pin some down the curvy princess seams but it was just a bit too obnoxious for this garment! LOL!!


After lots of playing around I finally decided on the fringe around the entire yoke seam and then around the sleeves.


Next up was playing with the pockets. I really likes the idea of the double pockets but due to the curvy princess seam I could not quite get the placement to look good in the space that I had to work with. So I went with a single pocket on each side and these were also cut on the cross grain to just get them to subtly stand out as well.


The internal construction of the garment is pretty simple. I wanted this to be a wash and wear garment, so I first serged the cut edges of the yardage and then threw it in the washer and drier.  After I cut out all the pieces I serged around the raw edge of each one, except for all of the yoke pieces which I fused with a soft loft fusible interfacing. I did serge finish the edge that was stitched down with a stitch in the ditch method on the machine.


The trim was placed on the seam lines and machine stitched in place with a zig zag stitch and the hem facing and sleeve hem were both also machine stitched. All of the machine stitching sort of just melts away into the texture and loft of the tweed, and gives me the secure knowledge that I can safely wash this garment on gentle in my machine and hang to dry with no worries about anything coming apart or unraveling.


I had this new tunic finished in time to wear for The Inauguration! It felt great to make a garment to celebrate a change of leadership for the good. Even though I was only able to wear this to my parents for a small dinner it was great to have something to celebrate during these difficult times!