Wednesday, May 25, 2022

Sarah Veblen Choose Your Own Focus Workshop -April 2022

 One of my favorite type of workshops is a choose your own focus workshop! The type where you choose the project and what things you want to focus on learning. In Sarah Veblen’s workshops this does not mean you are just “sewing”. Time is spent learning from the other participants and working on taking another step on the journey of exploration of design and construction. 

This particular workshop was 3 days long and i knew exactly what I wanted to work on! In the fall and winter I worked on perfecting the fit of a new French jacket pattern. Sadly I have given away all but one of my collection of French jackets and I was finally feeling like I had enough of a wardrobe built up that I could take the time needed to complete a new jacket. This time I really wanted to incorporate this beautiful butterfly guipure lace. I had everything I needed!! This spring workshop with Sarah was just what I needed to get my butt in gear to make the jacket. I knew what parts I could easily do by myself and then there were parts that I would have either had to do some research in books and the web OR I could bring them to Sarah.

I had some questions on the sleeve cuff. Actually lots and lots of questions! Of course many of the questions I had were around the best and correct way to execute the sleeve cuff. As expected there is no right or wrong way and it all depends on the design you want and how you want to execute… designers choice! It was really good to have a nice conversation with a sewing professional and several other experienced makers to play off ideas and pros and cons and just to share information. I find it always to be very inspiring and much less boring than just picking a pattern and following those directions! (Although there are times when just following a pattern is so nice and easy!)

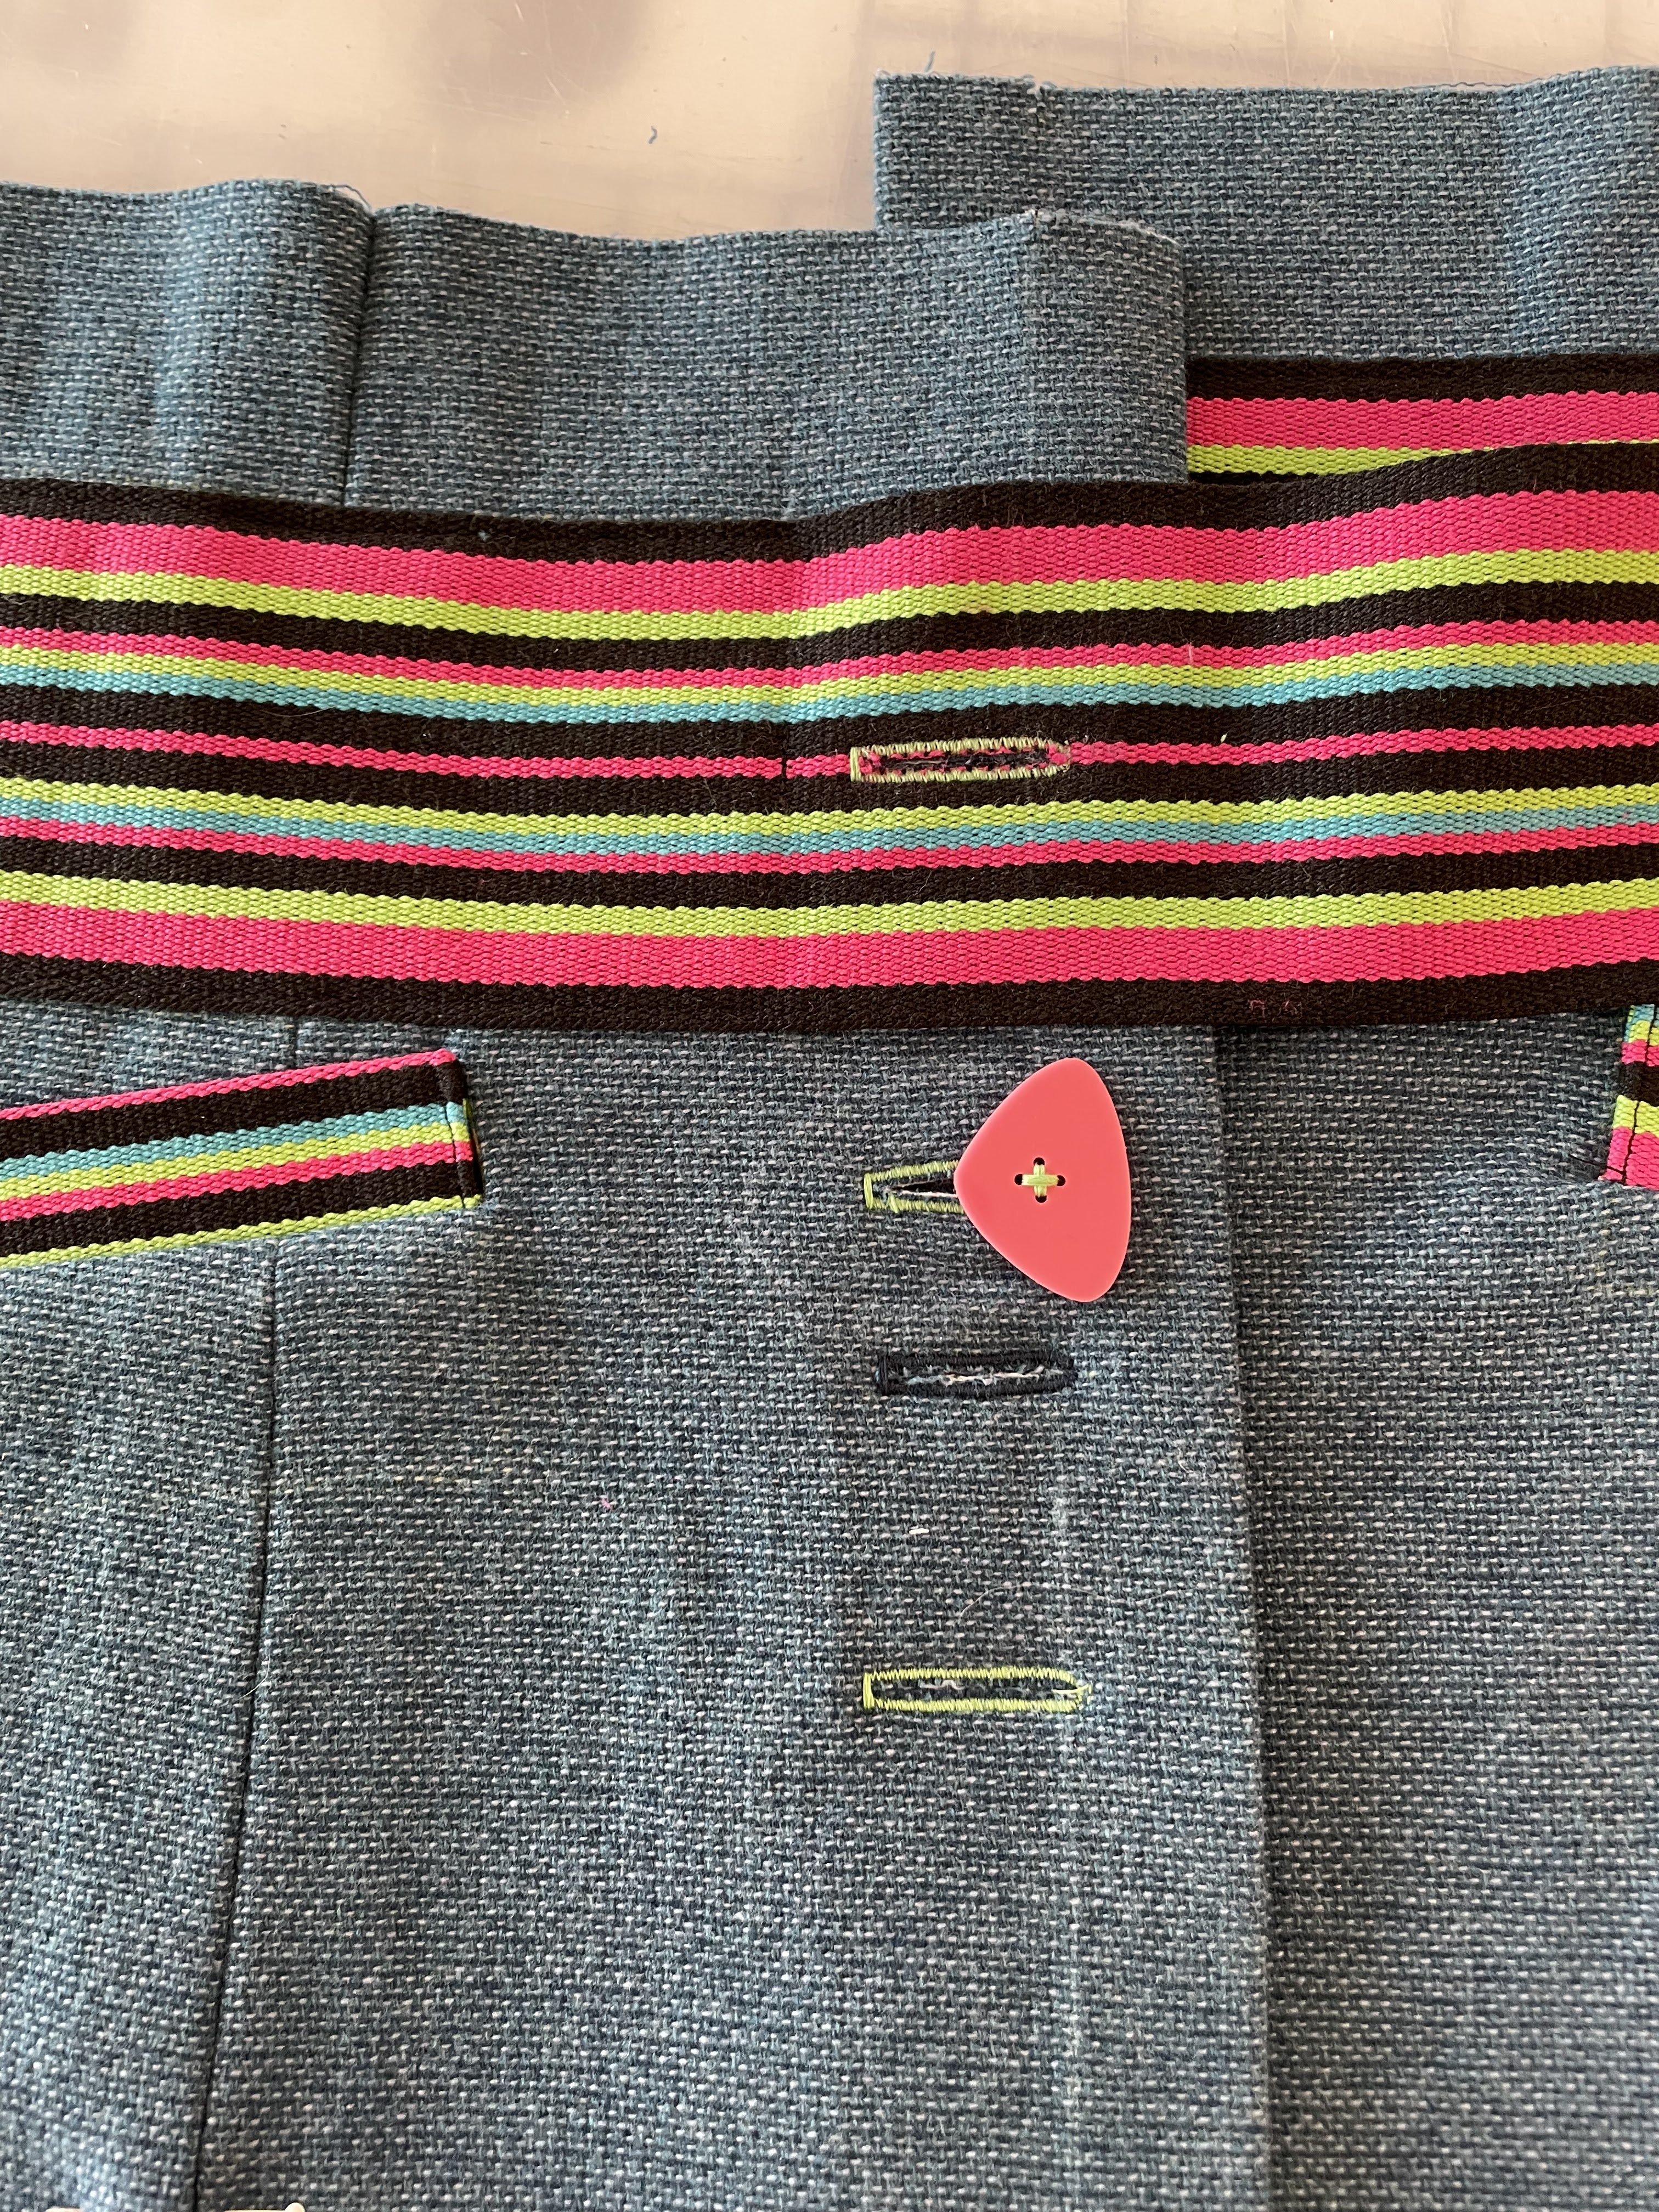
Discussions were had around how to construct the sleeve cuff, how to sew on the butterfly lace and then to design where to put the butterflies. We also assessed different traditional French jacket trims and buttons as well. Turns out after spending a lot of time pinning and repinning that the trims, all the trims I brought, were just too heavy and then everything looked too forced and stuck on. So much better without the trim!

I also worked on two muslins, one a straight skirt. Just a front and a back, Sarah draped in the  front and back darts and perfected the fit. I later used this pattern to make a straight denim style skirt and was very happy with the fit!

The other muslin was for Vogue 9187 an armsyce princess seam shell. That muslin is still hanging in my sewing area waiting for all the changes to translated onto the pattern and a new muslin made. 

I think once the shell is perfected then I really only have 2 more master patterns to work on. A button down or button up shirt  and shirt dress. I cant believe it has taken me almost 2 years to remake my entire wardrobe of patterns after all that weight loss. Every time my pancreas acts up I just keep my fingers crossed I don’t have another mega weight loss! 

The 3 days were filled with so much good sewing and design time. Sarah gave us all several challenges over the time. One was drawing necklines on our coquis and exploring designs that we would normally not use along with the exercise of fast sketching. Sketch as many necklines as you can in 10 mins. 

Another exercise was to take inspiration from a nature photograph and put together a color palette that would be corresponding to the photo. I opted to use a photo taken at the Garfield Park Conservatory and use swatches from my big swatch collection for my palette.


We spent time every morning and afternoon gathered together talking, discussing our projects and any other design questions that come up. This discussion time is so key to learning from each other and often leads to lots of exciting discoveries and ideas.

I really enjoy spending creative time with friends new and old! It really is inspiring to see the amazing garments that these ladies create.

Happy Sewing!

Little Arya joined us one day and she enjoyed having her own muslins to work on! 


Tuesday, May 17, 2022

Blue strappy Jacket- slow sewing at it’s best!

 Hello again!  Covid hit the household in late February which in turn kicked off my pancreatitis, anyone dealing with a chronic condition knows the challenges. We just do the very best we can! And then life happens and time passes and here we are in May with a big backlog of blogging!

For lack of a better descriptor I am calling this my Blue Strappy Jacket. And I absolutely love it. It makes me happy to wear and fits wonderfully and I just had so much fun creating it.


Pattern: The very base of the pattern (with many, many changes) is the shoulder princess seam jacket from Susan Khalje which includes a 3- piece sleeve. I really love a 3-piece sleeve on my jackets. The fit is spot on, the comfort is like no other due to the shaping. Added bonus is that you can usually squeeze those sleeve pieces into a smaller over all yardage as well. Unless, you cut the under sleeve on the bias. Which I often do just for comfort.

Fit Changes: I highly recommend making a muslin as I find the overall shape of this jacket to be great but the sizes to be off. Most important to remember that this pattern does not include seam allowances, hem allowances or any directions.

Design Changes: I made a quite a few changes! Starting with the neckline shape and  I also added welt pockets, a collar, facings, drafted a lining pattern with a pleat in back lining and an internal zippered welt pocket. Plus the obvious addition of the strapping or belting at the waist as a “belt” plus as the welts on the front pockets and as a detail on the sleeves.

Fabrics: The fabrics are from a variety of places and all from my collection. The blue wool was from Michaels fabrics in Baltimore. I washed it with Eucelan and dried it on the wool setting it the dryer. This gave it a lovely texture! It was perfectly lovely before washing but now I really love it! The lining is a silk charmeuse that I purchased in Paris. The pocketing fabric is a remnant of a very fine light blue shirting fabric with a nice tight weave.


Interfacing: I went well out of my wheel house on this jacket!! Normally I will underline if needed with an organza or cotton batiste on my jackets. However, this time I went with speed and fused the entire jacket. I used a light weight weft interfacing from EmmaOneSock. I did do a test first to feel the hand and see if the fusing would alter the hand or the look of the fashion fabric and it did not. So, I just went with it! Speed tailoring!! 

Notions: One of my favorite parts of this jacket are the buttons. They are designed and made by an artist, Jennifer Torres. They were a gift to me a couple years ago and they fit this project perfectly! There are 2 styles/sizes. The large ones on the front and the smaller, squarer ones on the sleeve cuffs.

I also used this cotton strapping/webbing that I picked up from the Textile discount warehouse for 50c. Well technically $1.50 because I purchased 3 of them. Each “baggie” had about 2 yards of the webbing with finished ends. Must have been dead stock from some project somewhere in the world! I loved the colors and the width and it really made my vision come to life. I really had to think about the construction order carefully as I knew I wanted this faux belt to be sewn on around the jacket but loose at the front where it crossed over.

Construction notes: I made a very large test portion of the lower front jacket, this was in addition to the fit muslins. I wanted to test out the closure with the webbing/strapping, the buttonholes and making the welt pockets with the webbing/strapping. As well as placement of the pockets in relationship to the “belt”. 


I learned a lot from this test!! I really enjoy making tests such as these when I am designing a garment from scratch that has unique details. It really lets me perfect the details and learn all the pitfalls before I start. FOr example, I learned that the webbing frays like crazy if you cut into the sides of it so I had to construct the welts in a way that had no trimming. I learned that I needed to make the buttonhole on the webbing bigger than the others because there was less give in it than just on the fashion fabric. I was also able to perfect the placement of the pockets in relationship to the belting and work out the best angle.

Having done the tests I was so much more confident in installing the front webbing welt pockets and cutting into the fashion fabric. In the photo below I show you my preference for using a one piece pocket bag to reduce bulk at the welt and my method of cutting open with 2 different scissors. Using a strong tiny pair of Kai snips to get deep into the corner.

On the inside of the jacket I added the zipper jetted security pocket. This pocket has a fashion fabric facing and a horizontal pleat in the pocket to keep it from pulling the welt opening and the jacket askew if I put my phone in that pocket.

Hem Finishes: Hems were all done by hand 

Sleeve Vents: the vents on the sleeve were meant to be functional…. There are buttonholes. I just decided not to cut them I open as I had to do a little bit of jimmy rigging or finagling to make it work. In a post Mortem of the project with Sarah Veblen, this had to do with the patterning and possibly what my vision was versus what the pattern was.  I have since adjusted the pattern so that they will be working vents moving forward!  

Final Thoughts: Believe it or not, this jacket was supposed to just be a test, a wearable muslin, nothing special. But, it obviously grabbed at my heart and my design soul and I just ran with it! I figured if it was a test then I had absolutely nothing to lose by trying about some fun, unique details and ideas. It just goes to show that I need to follow that feeling more often :) 


I find that ideas really have time to blossom when working on a slow sewing project. I really enjoy them and often have one going all the time while I also have faster/shorter projects going. It is a good mix and lets my brain work on different things at different speeds.

Happy Sewing!!

The princess was super happy with this tunic hack that I did to one of her favorite shirts that was getting a bit short in length on her! I added a nice big flounce to the bottom and she just loved it!!


Little Arya never left my side while I was down and out with covid and the resulting flare. I’m lucky to have such good company!


Friday, February 18, 2022

Green washable wool jersey tee! And a couple of others

Just a quick post this week on a couple of finished t-shirts! 


This project ended up being a little more involved at the start because I wanted to tweak the fit of my sleeve. Plus i needed to draft a new long sleeve. It is amazing to me that I am still trying to rebuild my wardrobe after losing all that weight last winter. 


Here are 3 shirts and I decided to try out a new neckline. I love my got to scoop but thought I could use some variety. SO I picked up my design ruler and drafted this nice soft V neck. Loving it!!
This t-shirt has gone through a ton of iterations over the last year. From making it almost 6 inches smaller in circumference, to tweaking the bust dart placement, the slope of the shoulders and now the sleeves, oh and the length as well. SO many tweaks and now I finally feel like I have it in the perfect place!!

I wanted it in the perfect place before i used my seriously expensive washable wool green jersey knit! I love this knit and i love wearing wool knit. It just keeps you so comfy and just seems to regulate the temp perfectly, never seem to get too hot or too cold. When you have a body like mine that doesn’t always work the best at regulating its own temps, it is so nice to wear.

So back to the t-shirts. With the all the body parts of the tee perfected the last thing i had to work on was the sleeves. To be perfectly honest I could have kept them as is and no one would have noticed. But i wanted to make it better, so I did. 

The printed short sleeve tee was to test the sleeve changes. This cotton jersey knit is from my stash and I don’t really recall where or when I purchased it. However, I know it is at least 5 years old and possibly quite older. (Dating method from my moves!)


The black cotton/poly jersey knit made up the second tester to check out the draft of the long sleeve. Success! This fabric washes and sews wonderfully and i purchased it within the last year or two for some ridiculously inexpensive price from The Textile Discount Outlet Warehouse in Chicago,I think it was like $3.99 a yard. 


The final version, and the one I have been working towards finally making is this wonderful green washable wool jersey knit that i bought several years ago from Fabrications in Richland, MI. I am so glad that I had not made up this tee before I lost all that weight. I would hav been so mad!!


I really like this neckline and the band finish that I did for it. I tried a couple methods for finishing the V and this one, while not the easiest, is definitely the smoothest and best looking in my book! 
I should have taken in progress pictures to better explain. Basically, I use a small piece of fusible stabilizer/interfacing at the ‘V’. Stay stitch at a 1.6 mm length for about 3/8 of an inch on either side of the V and pivoting exactly at the V. Then I clip to the point. (The clipping part is always a little scary)


For the band itself I cut a crosswise strip 1 3/8 inch to 1 3/4 inch wide, depending on how wide I want the finished band to be, press this wrong sides together. I then take this band and place it against the right side of my neckline and serge it on. While serging,  I every so slightly stretch the band so that it has a snug fit, Making sure to fold the opposite side of the neckline away from the serger knife and needles. When I get back to the V i very carefully stop serging just prior to the start part. I then lay the end of the band under the start of the band and finish it up on the sewing machine. I press the seam towards the body of the tee and then top stitch with a narrow zig zag or use the cover stitch to go around the neckline.

Comes out great everytime! If anyone wants more info let me know and I can make a sample and pics!!

I used some fun labels on these tops. For the print and the black tee I it the labels on the hemline. The Green tee has one on the neckline- Finished just in time! Just in time for me to wear it of course!!


This week I am also working on my muslin of my new princess line jacket. I started with the base pattern from Susan Khalje- The French Jacket. I will use it as my new French jacket pattern. In the mean time I am planning to use this lovely blue wool and fun lining, buttons and somehow this giant trim. This is muslin number 2 and the blue wool will hopefully be my wearable mockup! 


Happy Sewing!!
PS- enjoy this funny shot of little dog trying to get my attention while I was reading!