
My third tunic is what I am calling my Asymmetric Neckline Tunic.
1. Just a quick recap of how I got here.

2. Started with a well fitting master pattern of my tunic.
3. Used a sketch done in Procreate on my iPad to create design I really liked.
4. Used an approx. ¼ scale pattern to practice the flat pattern work to be done to original pattern to get to new design.


For the Asymmetric Neckline Tunic, I started a little differently. I started with the fabric. I knew that I wanted to use this cool printed fabric and I wanted to use it very thoughtfully. So, I did the design of the garment around the fabric. Luckily, the design us such that I can use it again or parts of it.
With my design sketched out from the start with the fabric design in mind I used the ¼ scale sketch to roughly tape out a design on my muslin and then transferred this to a clean copy of my master pattern.
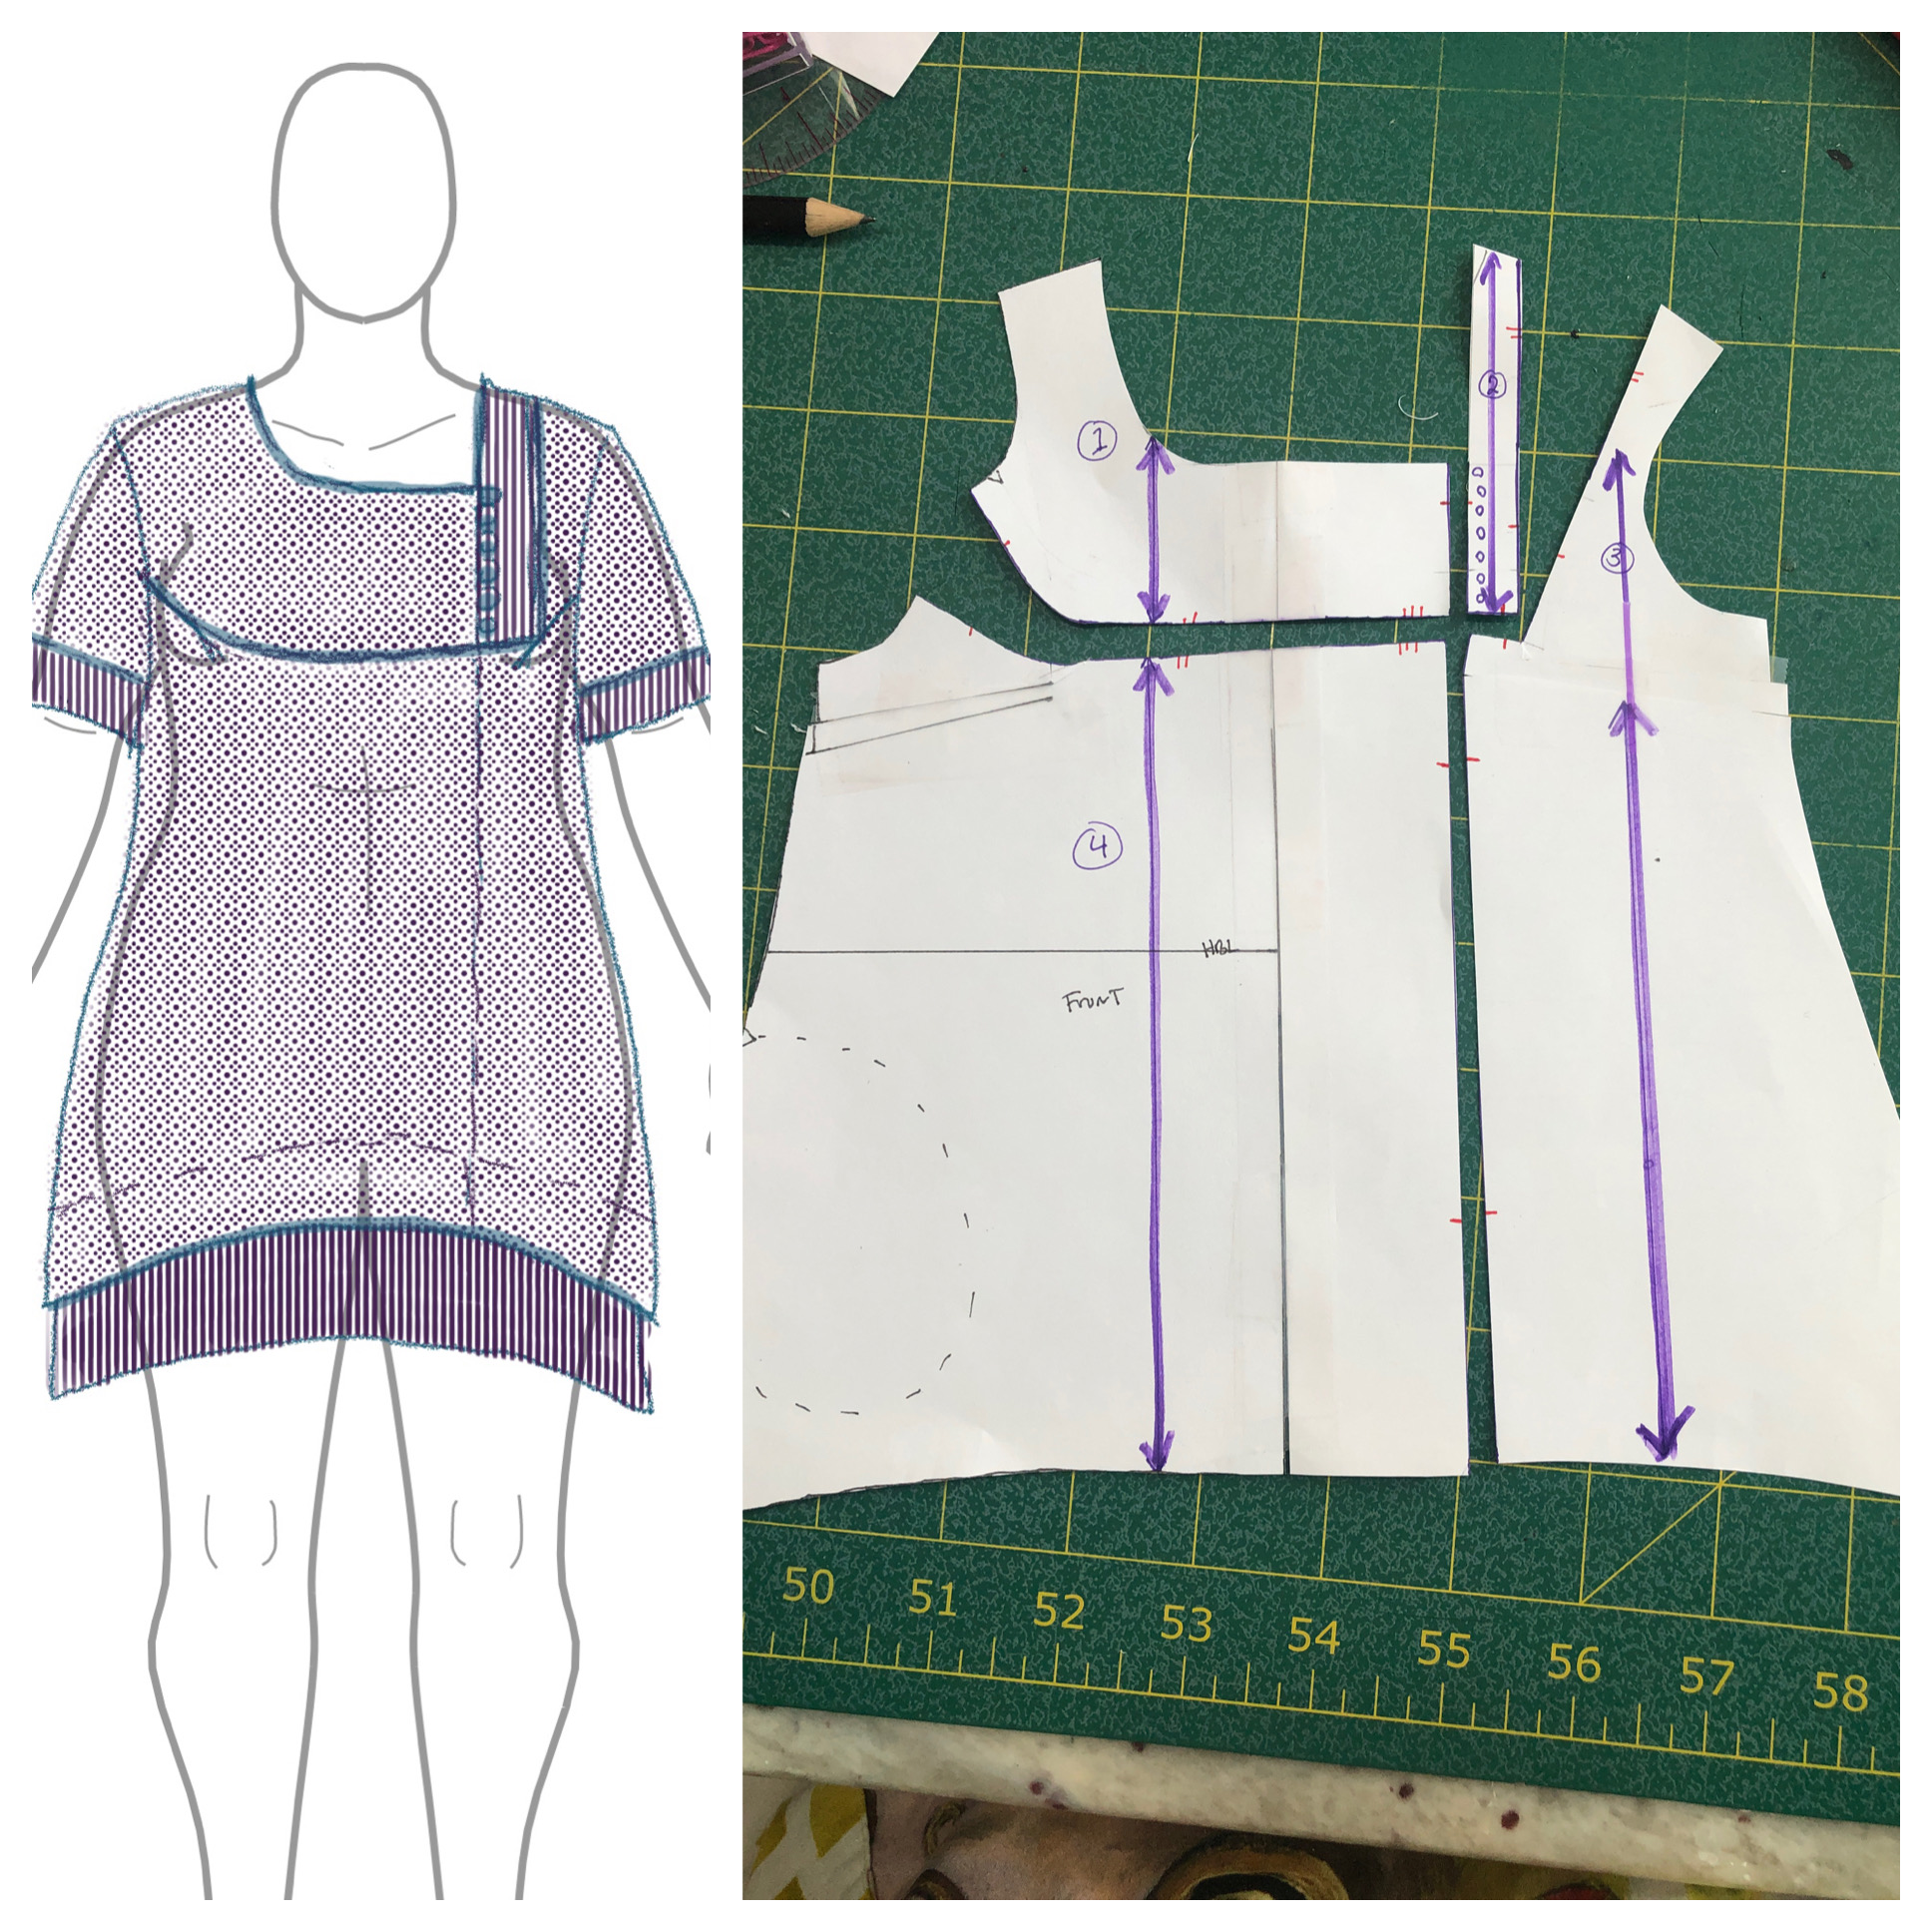
With the clean pattern and the front cut as a full pattern, I started with my flat pattern changes to get to my new design.
This is what I did:

Front Pattern (most changes)
1. Moved
the neck line in at left shoulder by a 3/8 inch.
2. Changed
neckline to asymmetric design. With the left side being straight.
3. Labeled
each of the front pieces ABCD, etc along with a description.
4. Added
in pattern matching notches along these lines
5. Rotated
the darts on the left side up into the vertical seam.
6. Rotated
the darts on the right side into the curved line into the armscye.

Back Pattern (minimal to accommodate front neckline changes)
7. Move neckline on left side in by 3/8 inch
8. Added in a design lines for a back piece that matched up to the vertical front seam. I was able to rotate the back shoulder dart on that side into the seam line.

Sleeve pattern (changed hem shape- different from sketch)
Once I had these changes made on the pattern paper. I once again pulled out the tracing paper and traced these onto a clean pattern paper and added seam allowances.
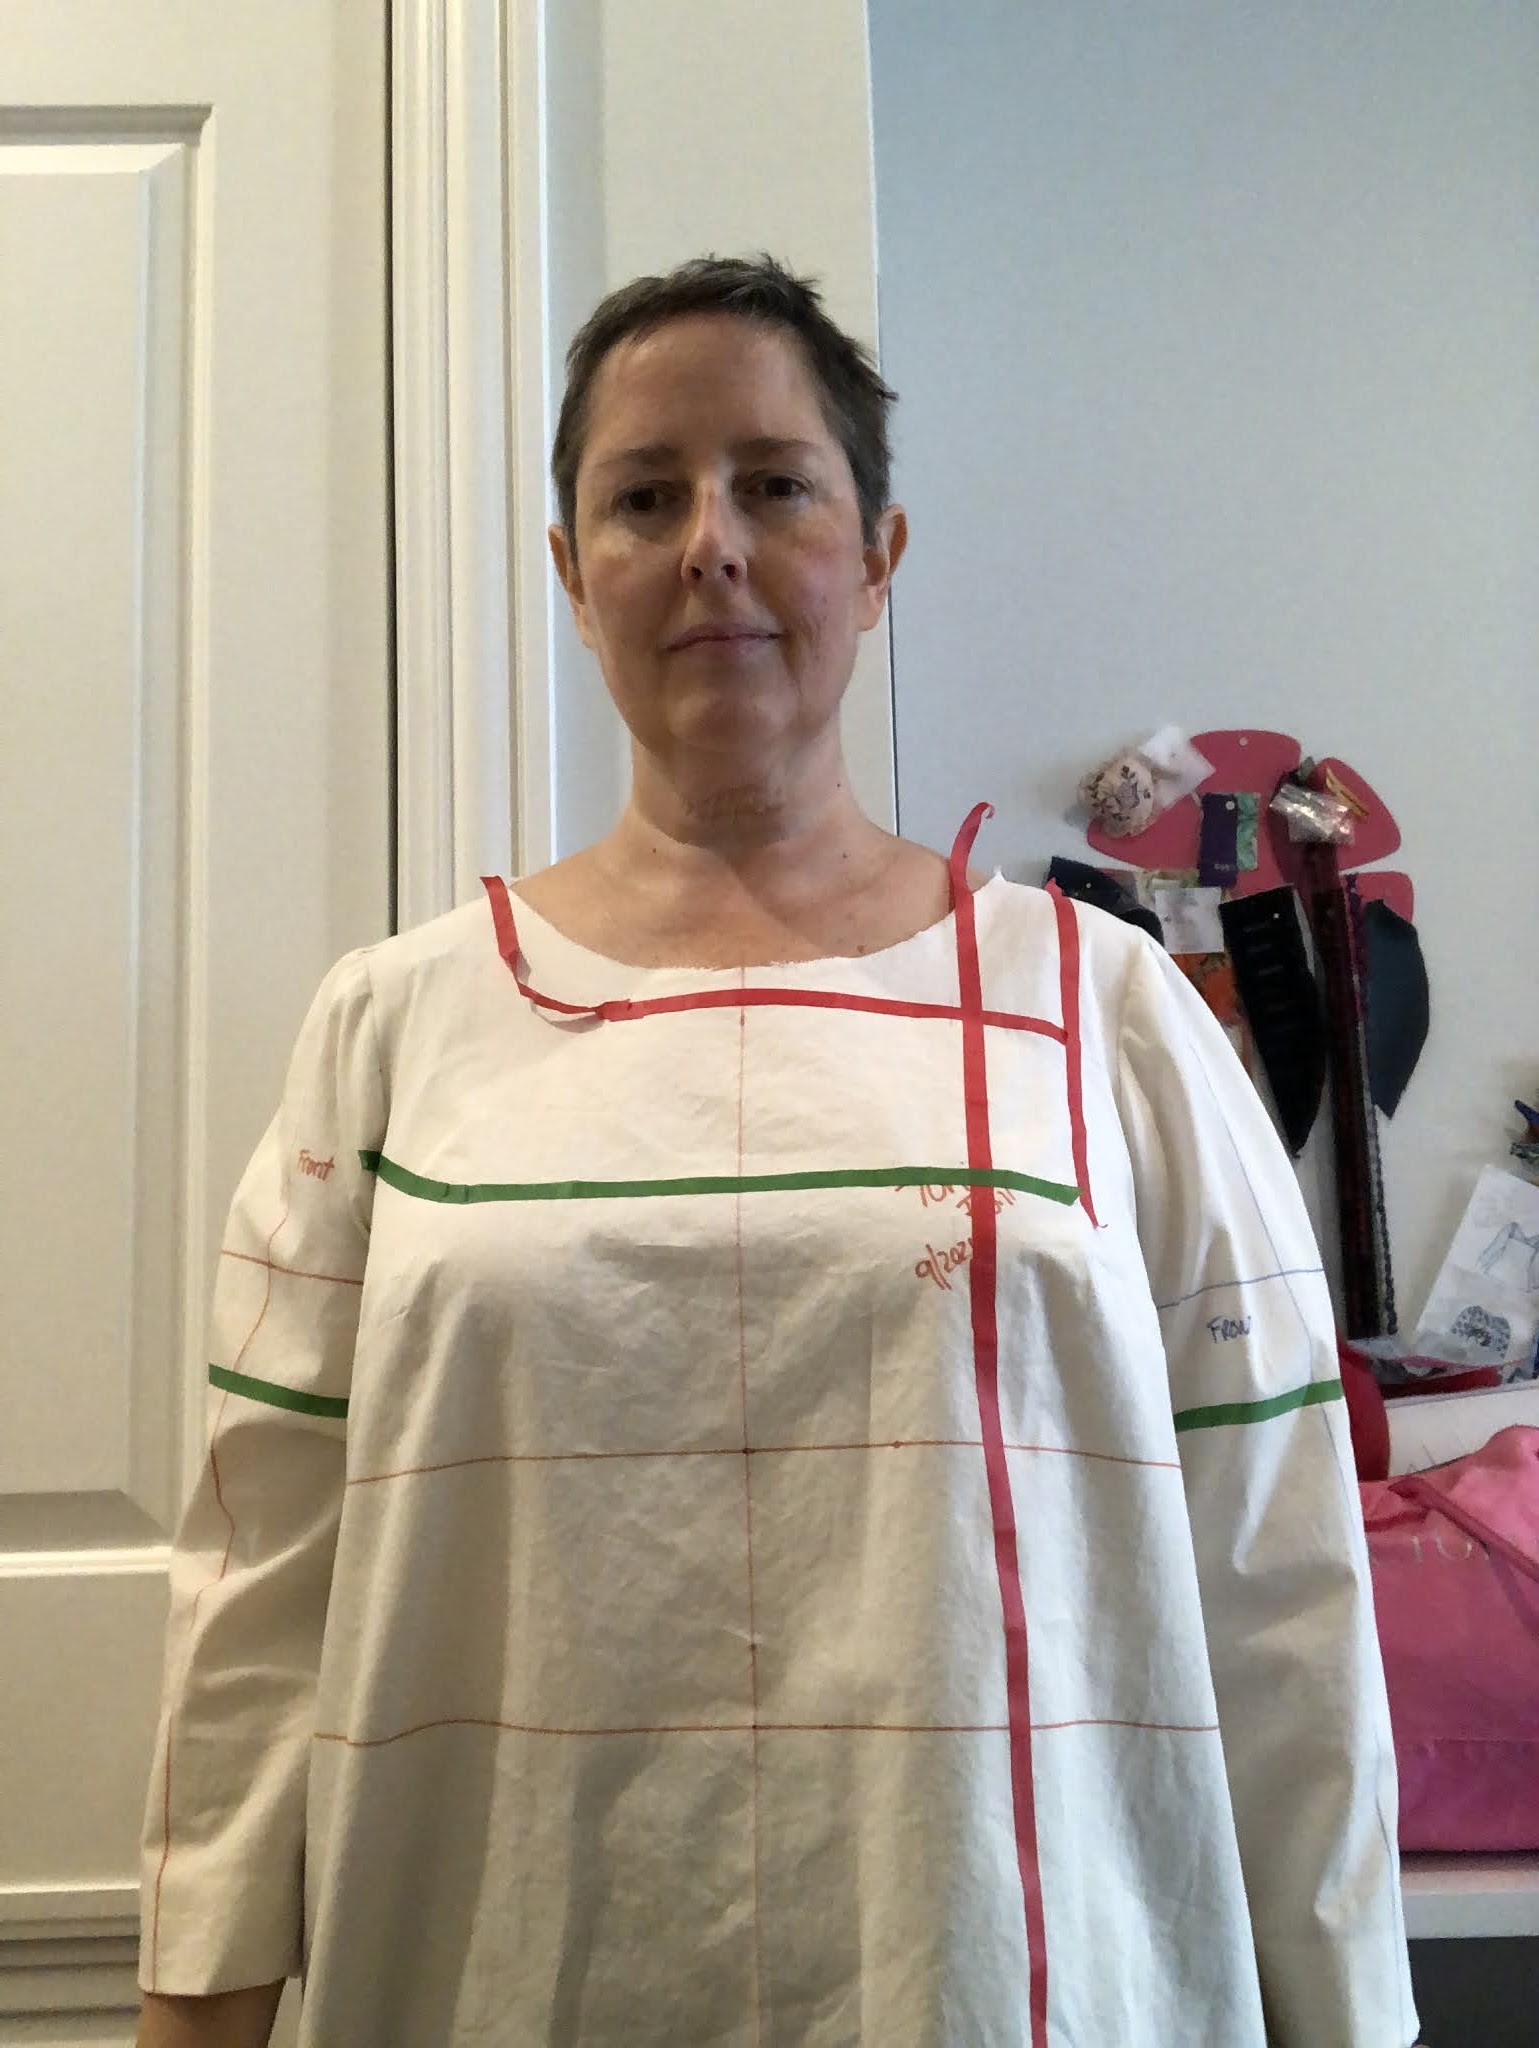
Then I moved into making a muslin. For my muslin I knew I only needed to make the upper portion of the tunic. To test out the fit of transferring the darts and to test out the viability of the design.
Some questions that I ask myself are:
- Are the design elements cohesive?
- Are the different parts and pieces of appropriate size?
- Does the design convey the feeling that I wanted?
- Does the design work with the fabric that I want to use?
The important part to remember here is that as I moved through this process I have my fabric picked out and have certain portions of the print in mind for certain areas. I also keep in mind that there is always a chance that I will get to this stage and decide that I do not like the design. I am okay with that! Being okay with that uncertainty allows me a lot of freedom in how I feel and think about the design. It is more about an exploration with the hopes of a good outcome!

I had to make some changes to muslin number one for fit. On the left shoulder I had to add a scant ¼ inch along the neckline due to coming closer to the neck and moving up on the trapezius muscle.
I also had to do a closed wedge on the right side right at the curve of the neckline to close up a small bit of gaping. This a change I was completely expecting to make. I have learned that when you carve out area over breast tissue you will cause some gaping. The absolute best way to fix this is by making a muslin and pinning it out.

With those 2 changes I made an additional muslin to double check the fit and it was perfect!

With the muslin done and the design fitted and me being very happy with it I decided to go back to my iPad and play with the fabric design and placement in Procreate. To do this I took photos of the fabric and played around with cutting and moving things around through layers’ functionality to play with the overall design. You can see the constants of the vertical bars on the left neckline, the red on the left side of the body and the print on the right with the print also being on the sleeves. What I was playing around with was adding/subtracting red on the sleeves as a flat piping insert as well as the upper chest curved piece.

I picked several of my favorites and used my mentor, Sarah Veblen, and ‘phone a friend’ or more like text a friend and sent these to get to get opinions! Having sewing and design friends is an amazing thing!


Since I was basically fussy cutting this design out of my limited fabric I cut the pieces that were most important to me first. These were the bars or stripes that ran along one side of the fabric. I wanted them to be on the vertical neckline piece, the hem bands and on portion for the upper back. With those cut out I moved onto the large front piece and carefully played with the design elements of the print and where they would fall. For every piece that I cut out of the print fabric for this tunic, I made sure to have some element of RED on the piece. To me this just helped to make it more cohesive. Hopefully for you, you would not even notice!! Which means I did my job well. Sometimes these things will tend to stick out or make themselves noticed when it just looks wrong or non-cohesive.

It was fun to cut out all the pieces and lay them flat prior to construction. I always find the shapes to be so interesting and how they transform from these flat pieces into a beautiful three dimensional garment!


Since this tunic is meant to be a wash a wear. I sewed down the hem facings and sleeve bands with machine stitching and on the front curves I did my clipping and then carefully serger finished these edges while keeping the curved shape so that the clips splayed out and overlapped under the overlocking appropriately. Doing it this way meant that I could keep my full seam allowances keeping a nice finished seam.


I understand that to some people this may seem like some crazy amount of work for a single tunic! And one that is admittedly not going to be to everyone’s liking. I hope that you can appreciate the exploration of design, form, cut and color that I went through. This project was not laborious at all! In all honesty it was quite fun and joyful and even a bit calming to just see where my ideas can lead me when I let them.
Happy Sewing!!
Trying something new- here is a video of me in the top.


