


1. Just a quick recap of how I got here.
2. Started with a well fitting master pattern of my tunic.
3. Used a sketch done in Procreate on my iPad to create design I really liked.
4. Used an approx. ¼ scale pattern to practice the flat pattern work to be done to original pattern to get to new design.

This tunic development started a little differently. I worked in the mirror and decided how wide I wanted my yoke and then drew that on the pattern and then just sort of drew in curvy lines for Princess seams. When I tried to tape these out it was a bit of a mess, so I just went into muslin. However, when I was drawing these curvy lines on the pattern I wanted to accentuate the natural curves of my body so I made sure those were drawn with the thinnest part at the waist and then wanted to make sure the curves were smooth as well as being well defined and very curvy!

Some example drawings that I did on IPad in Procreate app. Playing with different ideas of color blocking and print blocking.

This design was symmetrical so I was able to modify the pattern on the half, I started with my flat pattern changes to get to my new design.
This is what I did:
Front Pattern (most changes)
- 1. Kept the shape of the neckline the same
-
- 2. Drew in the yoke
-
- 3. Drew in the curvy princess seam
-
- 4. Added in notches along the seams and cut the pattern pieces apart
-
- 5. Closed the bust darts on the bodice to transfer them to the princess seam.
Back Pattern
- 6. Added
in back yoke to match the front yoke. Incorporated the back shoulder dart into the yoke seam.
Sleeve pattern – no changes

Once I had these changes made on the pattern paper. I once again pulled out the tracing paper and traced these onto a clean pattern paper and added seam allowances on the muslin.
I made only one muslin for this tunic. I did this for 2
reasons. One I was being a little lazy and 2 I had PLENTY of fabric to make 2
Tunics if I totally botched this one up. Also, seeing that all the changes were
in the princess seams I felt pretty confident that I could accommodate changes
made in the first muslin. Of course making sure that the princess seams walked
and had smooth curves.
Used the muslin to refine both the fitting and the shape/placement of the princess seams.
As you can see in the photos of the muslin I made some changes to the shape of the curvy princess seams and carefully pinned these changes in. When I was happy with how it looked I then transferred the changes to the pattern.

The second question of this tunic was how to give it some punch. I wanted to play with highlighting the seams and adding some pockets. Making sort of a play off of Chanel designs.
The first design consideration that I made was to cut the center panel on the cross grain vs the length of grain. If you look quickly at the garment you may not even notice! However, I think it gives it a nice subtle effect and just gives your eye a change in pattern to highlight this center panel.


Second design consideration was addition of trim. This fabric was perfect for deconstructing and making into a trim. I started with cutting a piece both lengthwise and crosswise to see what it looked like. Pretty apparent which one I wanted to use! I then cut a couple different widths and did some tests with how to create the fringe. I made several long pieces and then just started with pinning them onto the garment and seeing how I wanted to proceed. I did actually pin some down the curvy princess seams but it was just a bit too obnoxious for this garment! LOL!!


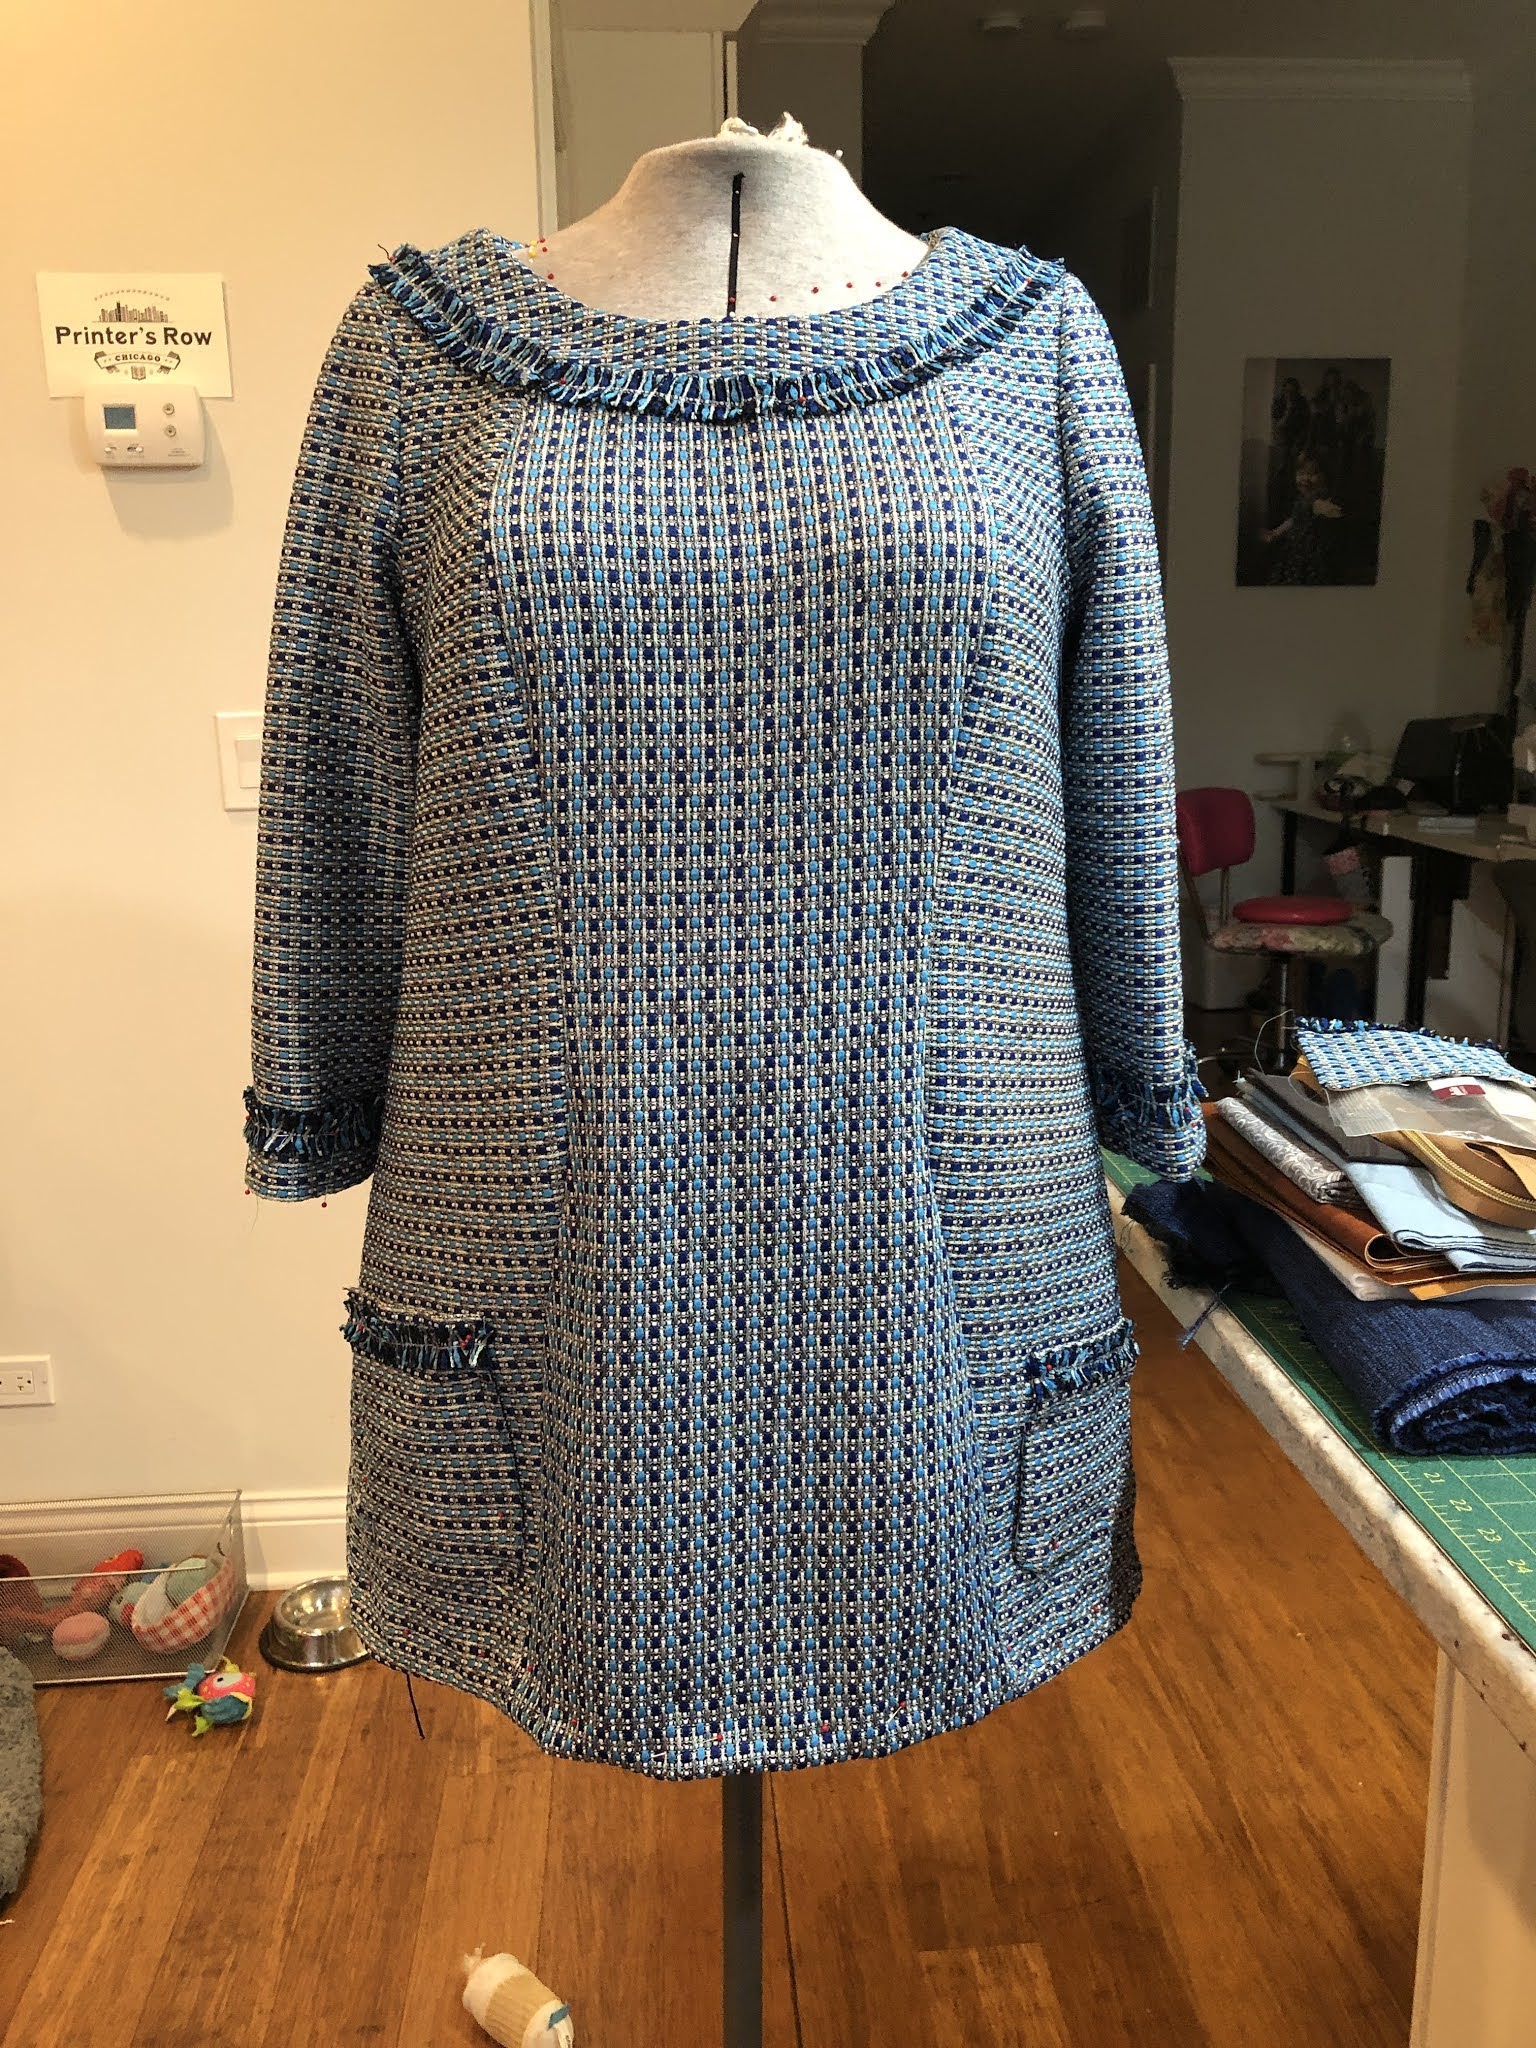
After lots of playing around I finally decided on the fringe around the entire yoke seam and then around the sleeves.
Next up was playing with the pockets. I really likes the idea of the double pockets but due to the curvy princess seam I could not quite get the placement to look good in the space that I had to work with. So I went with a single pocket on each side and these were also cut on the cross grain to just get them to subtly stand out as well.
The internal construction of the garment is pretty simple. I wanted this to be a wash and wear garment, so I first serged the cut edges of the yardage and then threw it in the washer and drier. After I cut out all the pieces I serged around the raw edge of each one, except for all of the yoke pieces which I fused with a soft loft fusible interfacing. I did serge finish the edge that was stitched down with a stitch in the ditch method on the machine.


The trim was placed on the seam lines and machine stitched in place with a zig zag stitch and the hem facing and sleeve hem were both also machine stitched. All of the machine stitching sort of just melts away into the texture and loft of the tweed, and gives me the secure knowledge that I can safely wash this garment on gentle in my machine and hang to dry with no worries about anything coming apart or unraveling.


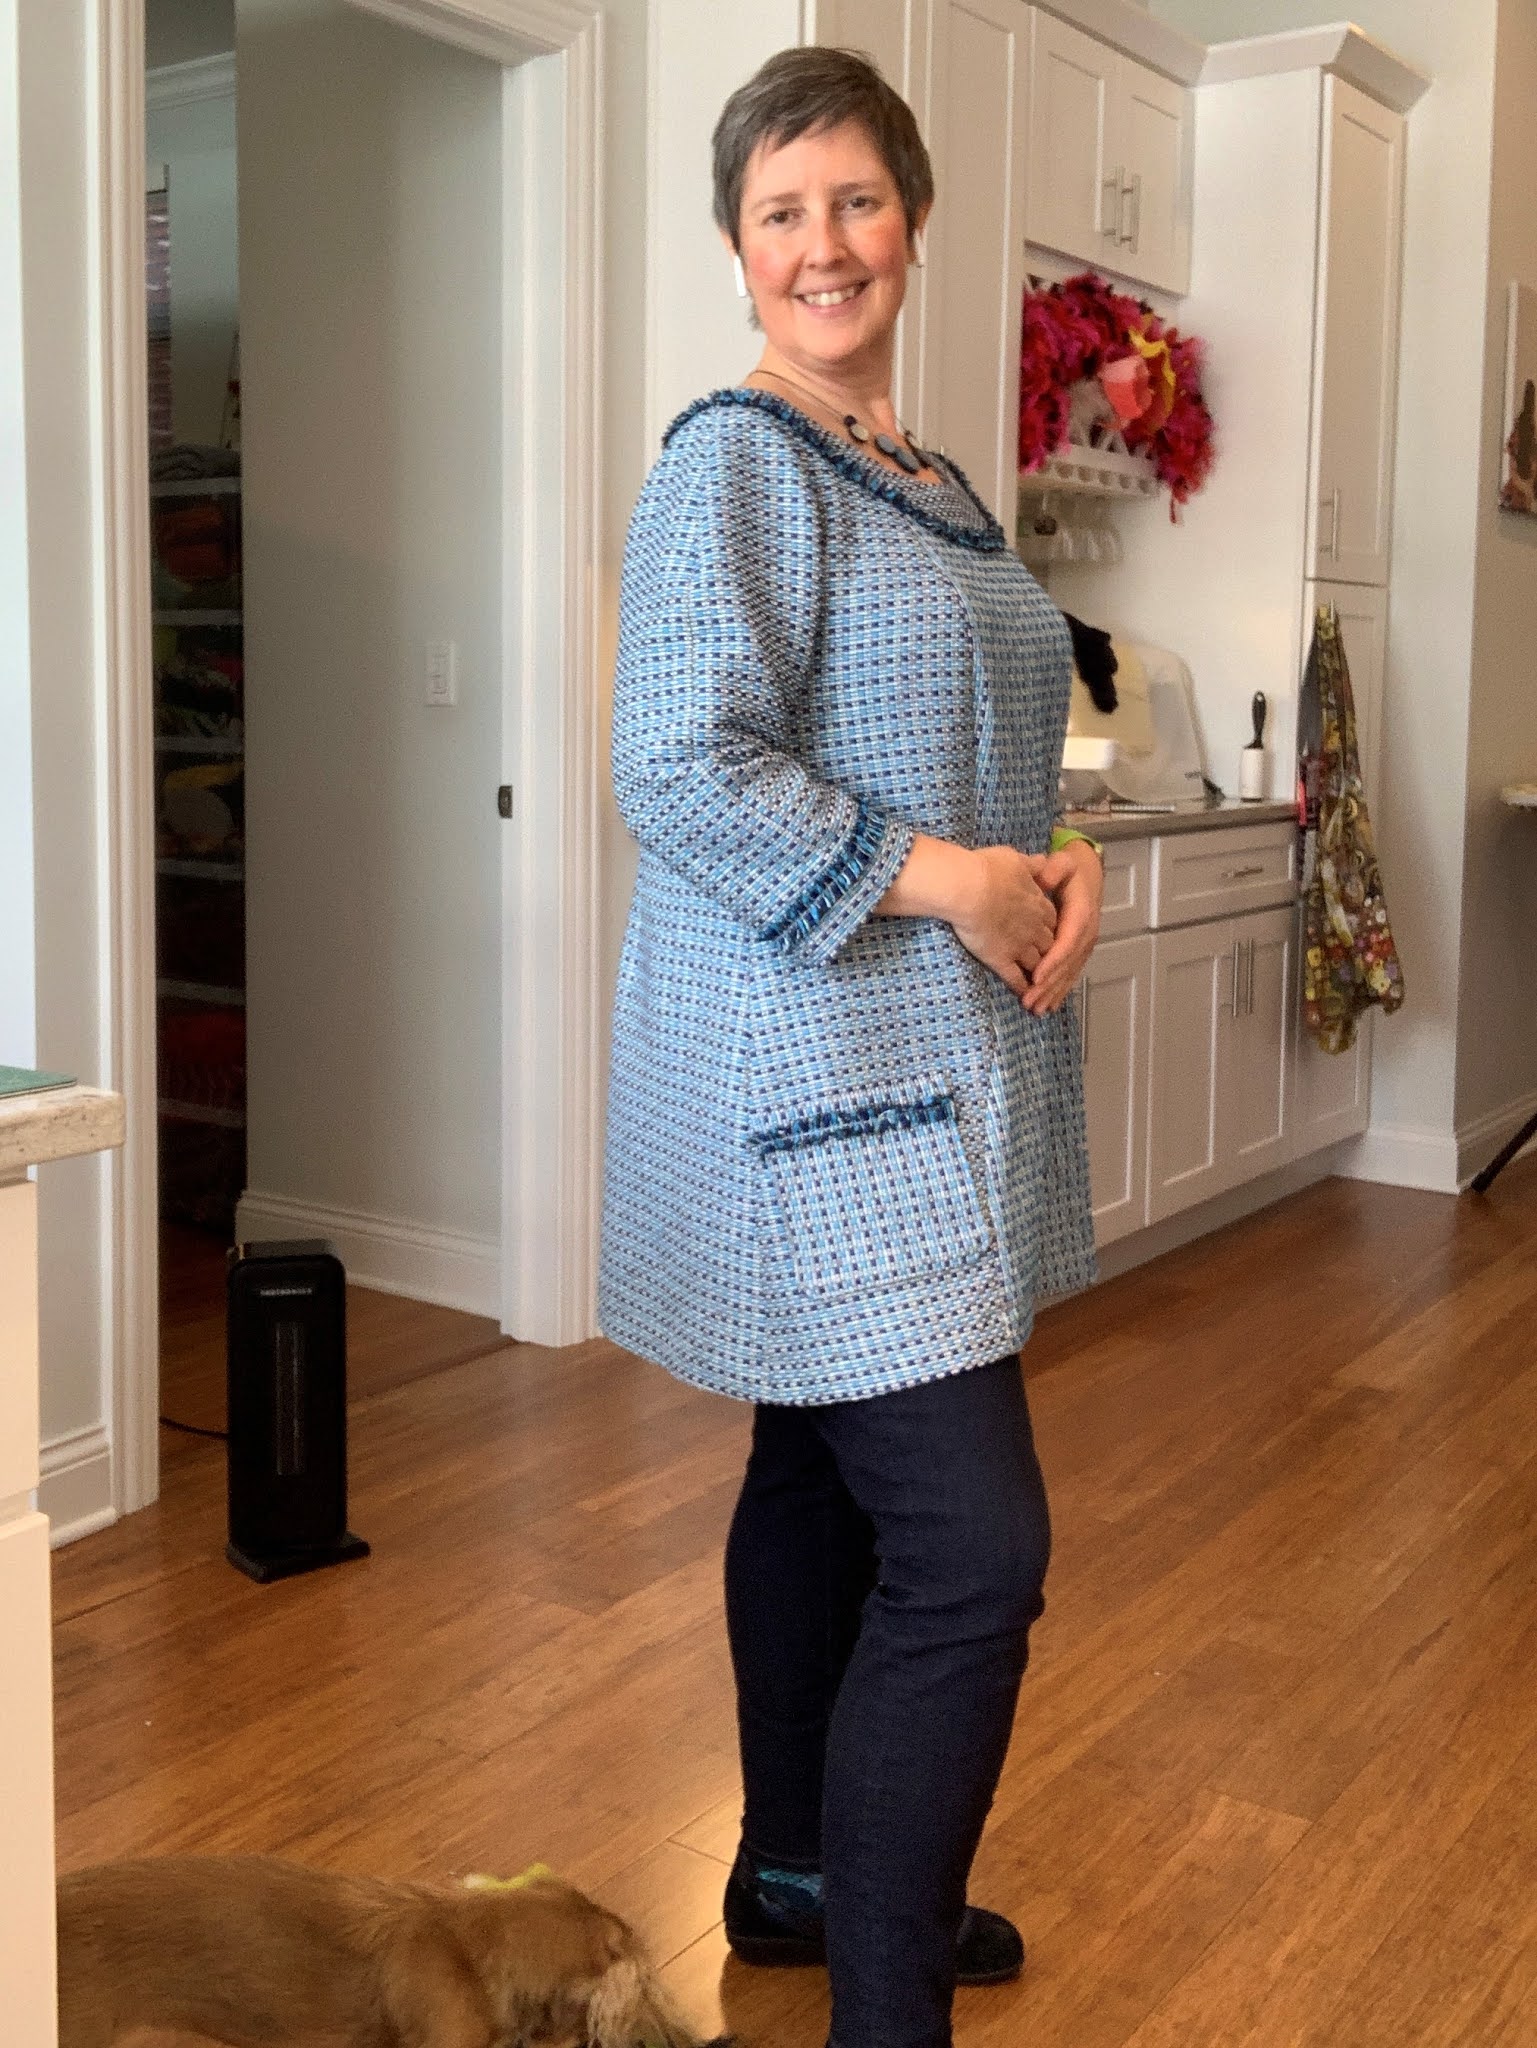
I had this new tunic finished in time to wear for The Inauguration! It felt great to make a garment to celebrate a change of leadership for the good. Even though I was only able to wear this to my parents for a small dinner it was great to have something to celebrate during these difficult times!

No comments:
Post a Comment
comments, thoughts, idea? Please share!