Showing posts with label Fashion Show. Show all posts

Monday, August 19, 2019

Haute Couture Club of Chicago Fashion Show review.

... better late than never!!
Back in May of this year I had the pleasure, honor and sometimes the headache of co-chairing the 2019 Haute Couture Club of Chicago ‘Color Your World’ Fashion Show. My co-chair was Melissa, my amazing daughter.


From the beginning we divide up the work and then just touched base with each other to make sure we were both on track or to see if each other needed help. Basically, I was the creative side- coming up with the Fashion show segments, the supporting images or graphics, writing and designing the show program and figuring out the order of go with 104 garments to walk the runway!


Melissa was mostly the logistics side, finding the venue, coordinating photographer and DJ as well as taking care of soliciting and organizing the raffle prizes and table decorations.  The venue this year was the Crystal Ballroom in the Historic Knickerbocker hotel, downtown Chicago. It was so beautiful!


Luckily we had the help of 2 other club members to help with taking care of the seating assignments and sending out of tickets.
This Fashion Show hosted the clubs first High School Senior Scholarship program. We had three graduating seniors that are headed to fashion design school each show a collection of their creations and they were each given a cash scholarship prize. This was so much fun! The young designers each attended some of the club meetings and also helped with modeling of other club members garments. It was a special thing pairing a young high school senior with club members who joined in the 1960’s. Each of these young designers had a one page bio in the show program.


I am glad that I had the opportunity to work on bringing the fashion to reality this year. Will I do it again? Nope! I enjoyed it and it was a new experience but I don’t need to do it again! It was an incredible amount of work and I was so glad to have done it and to have done it with my daughter, we have pretty high standards and I think we were able to uphold them with in the limits of what we had to work with. 

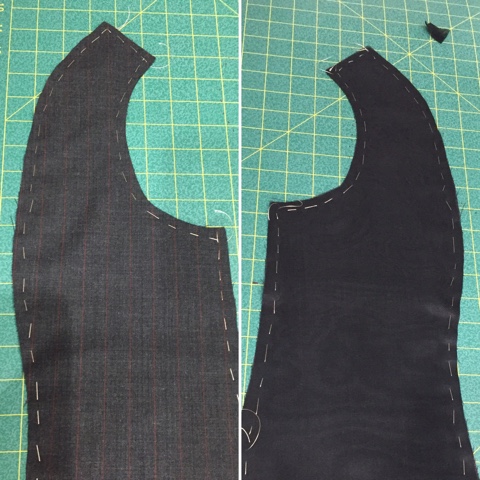
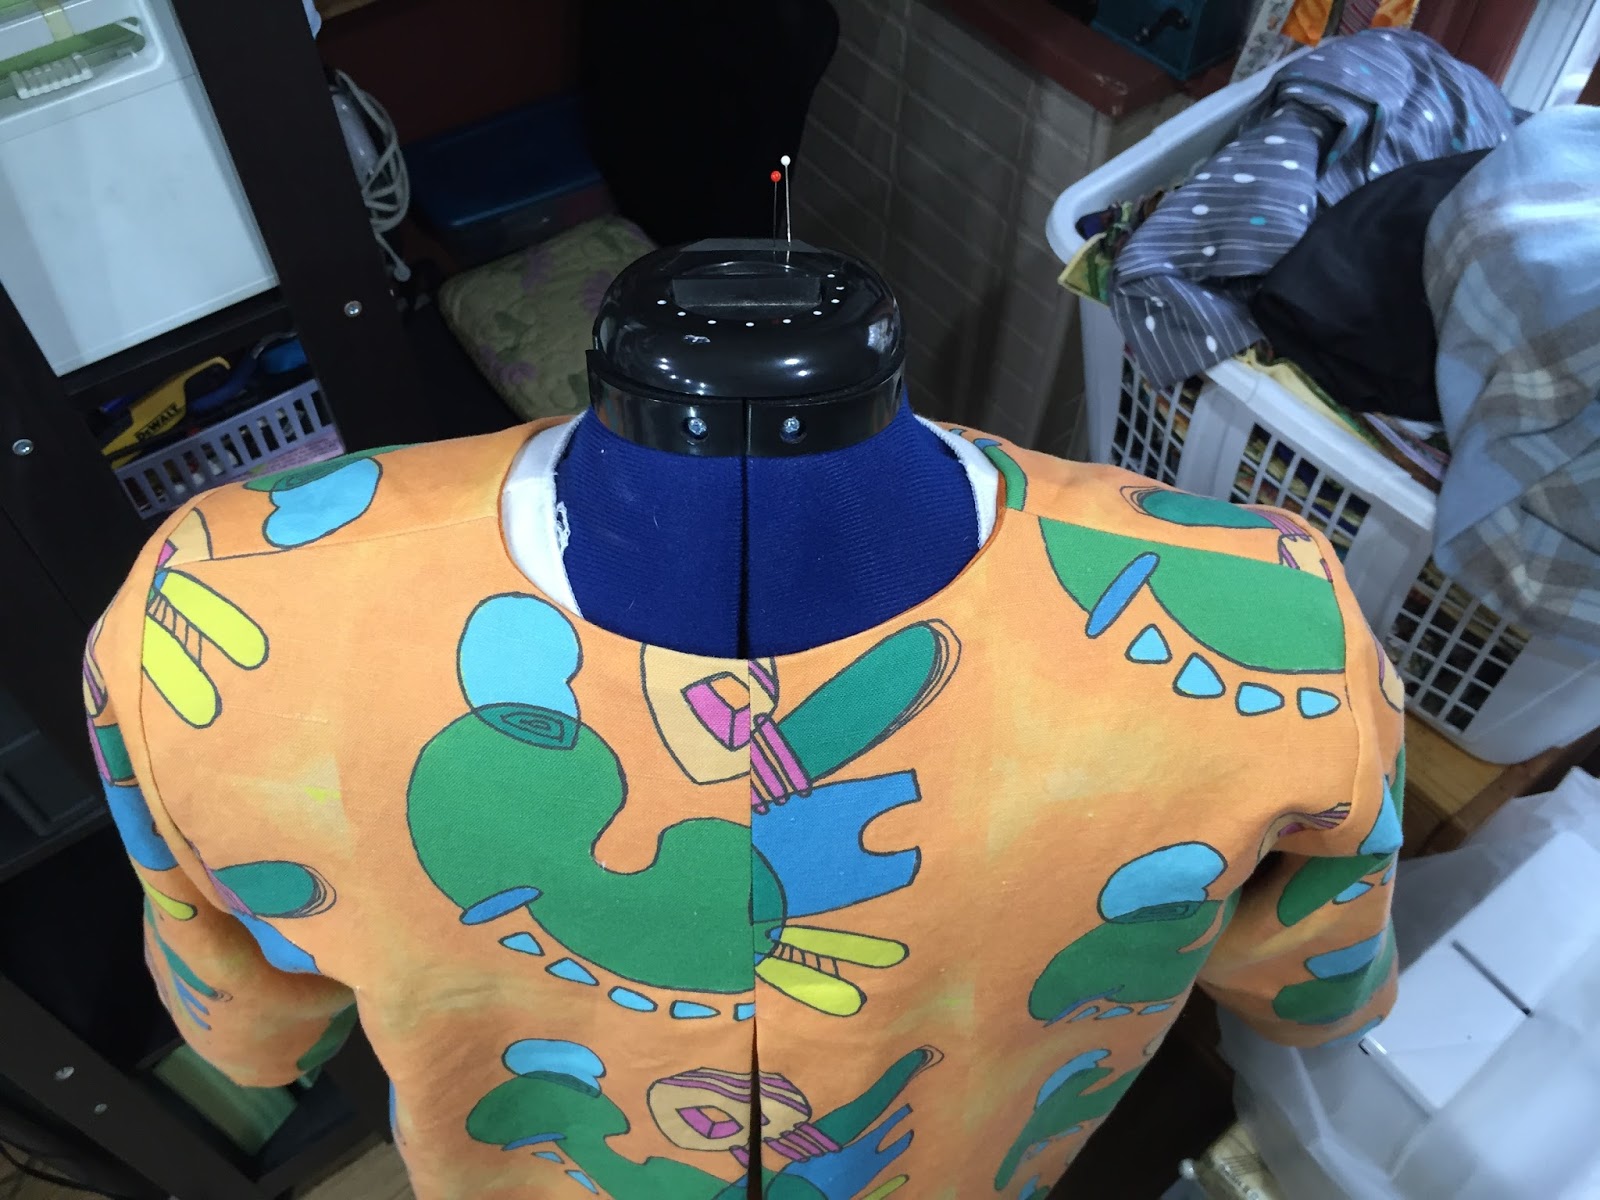
To go with the theme of "Color Your World" I made a new dress for Melissa to wear to the fashion show. Here she is showing off all the colors and twirl-ability of the dress :)

In addition to being co-chair of the show, I also participated in the show. I walked the runway in three garments that I designed and created over the past club year.


Thank you to everyone who helped make the day a wonderful success!


Friday, September 1, 2017

My fancy, fancy dress!!

Now that life has settled down into it's new normal, I realize that I have a backlog of blog posts! This one dates back to the beginning of May when the Haute Couture Club of Chicago had it's annual fashion show.

Wendy and I at a charity gala in Chicago.

I had several entries for the show but this one is by far one of my favorite and one of my biggest projects successfully completed. In my last In the Sketchbook post you saw the evolution of the sketches that led up to this final design. 
The design is all mine and the pattern was totally self drafted. I started out with my bodice master pattern and my skirt master pattern and figured out how to merge them into one with a little guidance from Sarah Veblen... hah!! who am I kidding!! It was a lot of guidance and it sure was good! I learned sooooooo much from this project. 

Muslin number 1.
Very first try from merging the bodice and skirt master patterns together.
Muslin number 3, I think... There were about a total of 6 muslins. 

Close to the end of the muslin stage.
This shows the final neckline I decided to go with.
I had multiple fashion fabrics, underlinings and linings and overlays... Lots and lots of handbasting and then a lot of handsewing. Almost as much if not more than the amount in my french jacket!

The main fabric of the dress was a superfine dark grey wool with a red pinstripe with the Savile Row  of London woven in the selvedge. Each panel of the princess lined dress was underlined with black silk organza to give it an extra bit of body. The 'V' insert was done with red silk georgette and the entire dress was lined entirely in red china silk except for the godets.

Fashion fabric from Savile Row via A Fabric Place in Baltimore and
the black organza hand basted to each piece. 

The godets along the hem of the dress were designed with the sizes graduating from the skinniest in the side fronts to the widest and longest in the center back. This gave a feeling of movement and the look of a slight train. Each godet was cut out of a layer of red silk organza with laser cut black scuba hand sewn to it. each of these were basted into the godet, sewn, trimmed and then the lining was hand stitched to the edge of each godet. 

Godets. I used the actual mislin pieces for my pattern pieces. Each piece of laser cut scuba was hand stitched to the organza in 1" spaced zig-zag rows so you could not see the stitching.

The jacket was self drafted from my master jacket pattern.. I was very careful with the front neckline so that you had a peek of the red silk georgette. The front bodice and the back yoke used a red and black circular jacquard with the laser cut scuba overlaid and hand stitched on and faced with the jacquard. the sleeves and the back were cut from red silk organza and again covered with the laser cut scuba and lined in red silk organza.
Sooooo much hand stitching!!
This was such an enjoyable garment to design and create!

I wore this at the HCCC fashion show 2017, Never in My Wildest Dreams.

Kind of a weird angle shot from the student photographer at the HCCC show. 
On the runway!


I wore this outfit to a charity gala in Chicago in June. I also plan on wearing it to the Opera. So exciting to have beautiful clothes to wear!


More Catch-up blog posts on their way!
Happy Sewing!
Princess Victoria taking time to smell the flowers!

Sunday, October 30, 2016

ASG Chicago Chapter 27th Annual Fashion Show and Luncheon

Sew Surprising was the name for this years annual fashion show and luncheon which was so surprising since we hardly had any communication about the event at all! It was like Sew Surprising was kept a as a great big secret.
My very good friend Wendy and I at the luncheon.

This is only my second year being a member so I only have last year to compare to and let me tell you there was a big difference in the level of communication. Unfortunately it had a direct impact on both the attendance of the event and the number of fashion show entries. It was a bit disappointing to see. Less than 100 people in attendance and a grand total of 38 garments... come on, this is Chicagoland.

Any way...Those of us that were there made the most of it and enjoyed ourselves!

I had 3 garments entered in this years show. 2 of which have already been blogged about.
First up was my Yellow jacket and Floral skirt (blogged about here) that I made for Princess Victoria's 2nd birthday and baptism.

The 2nd was my Sneaker corner dress adapted from vogue 1404. (blogged about here) I made this from fabric purchased at the July ASG National Conference in Indianapolis.


The last outfit was part of the Sew Chicago Neighborhood Group Challenge which was to make a button down shirt with collar, cuffs, button closure and one embellishment. In my case the embellishment was contrasting fabric. If you hop over to the Sew Chicago blog you can see the other participants entries.

For my entry I used Simplicity 3684 as my starting point. The fabric is from Emmaonesock. 'Sit, Stay' poly crepe woven, still available here and the black contrasting rayon was from my fabric collection. I made several changes to the pattern after making a muslin the biggest was changing the sleeve to 2 piece sleeve. I will do a full blog post on this soon. I also used my A-line skirt pattern to create a new skirt. This one is a double layer of an over-dyed black rayon woven done with a rolled hem, lapped zipper and waistband.


I also had a garment entered in the fabric challenge. Each year there is a fabric challenge and this year it was a polyester print. I had some challenges with this fabric. One we only had a small piece and it had the tendency to run and to fray :( Due to those challenges I decided to use a pattern where I could ruche the fabric which helped to hide the flaws.
I actually had a lot of fun doing this challenge! It pushed me outside my box and let me experiment to come up with something fun and unique. You can read all about my challenge garment and see pictures of it and it's sister shirt here.

Hopefully next year has a better turnout!

Wednesday, April 20, 2016

iART Jacket, Silk Culottes and matching Tank: a work of Collaboration!

iART Jacket and Silk Culottes and tank on the runway
My Inspiration for this jacket came from some of my sisters art work. We have often talked about doing some sort of collaboration together, we just hadn't been able to solidify any ideas. Earlier in the year there was a Haute Couture club of Chicago meeting that was all about designing your own fabric and various fabric printing services that were available. The lightbulb in my head went off immediately! Here was something my sister and I could do together. When my sister came up for the Christmas holidays she brought with her a slew of her favorite drawings that she had done. Some were just line drawings and some had been colored in. Together we went through about 40 small drawings and I picked the ones I liked best and scanned them into my computer so that I could have them to play with. I was instantly attracted to the bright colors and knew that for this project I wanted something big, bold and bright!
my sister and artist, Jennifer Torres

Cloud series- works in progress

Cloud Series at Installation

After scanning and playing  with the images on the computer for a while I decided to use Spoonflower to have my fabric printed. I uploaded several of my images and using their software I played with the scale and the repeat of the design. As you can see on my jacket, I really went for big and bold! I used a half drop vertical repeat, this looked most pleasing to my eye. I took a deep breath and ordered 3 yards of the linen/cotton canvas. I was so excited when it arrived!!! My husband had this part comical, part skeptical look on his face like 'what the heck are you going to do with that??' Well, I did something fantastic with it! 

The fabric was quite stiff. Stiffer than I had expected. However I washed and dried it in the dryer about 4 times and it finally softened up. On the down side it also shrank right up as well! I lost about a third of a yard in length from 3 yards. Yikes!!!
Drawings done by Jennifer Torres- Bottom left was used for designing of this fabric


I had 2 contenders for the jacket pattern. A OOP Vogue Marcy Tilton Jacket and the Counterpoints jacket pattern by Gail Yellen of Gail Patrice Designs. I decided, with some valuable feedback, to use the counter points jacket. I already had made both previously so I was able to put them on and see how they would affect the overall silhouette. Counterpoints was the better option for this garment. 

With the limited fabric and the large scale print I really had to be careful in my pattern matching.  If I use this fabric from Spoonflower again in the future I will make sure to purchase extra fabric. I think part of it was also that seeing the pattern on the screen versus in person was slightly different. Not a bad different at all, just different. 
Matched pattern as carefully as possible across the front and back.


I very carefully matched the pattern across the front upper chest where the neckline meets as well as the center back across the pleat. I did limited matching at the side seams. This was mostly to make sure the repeats were inline with each other. I also did a lot of testing and playing with several different ideas and print placements. I knew for sure that I did not want one of those big bold prints right on a boob. I mean how bad would that look!?
I also knew that I wanted the print placed down the center of each sleeve for symmetry purposes. I am really happy with the outcome. Reminds me that it just takes a few minutes to step back and really think about the fabric and the print that you are using to come up with a pleasing and effective arrangement. 
decisions, decisions... long or 3/4 length sleeves?
I went with 3/4 length

in-seam pocket

matching print across front

back pleat detail

back pleat detail


inside out!

The lining is an orange silk lightweight twill that had been in my fabric collection for many, many years. It matched perfectly and I was happy to use it on a great project. For the inside top of the pleat I used a little piece of embroidered ribbon with dogs on it that I purchased from Soutache in Chicago. Having just lost my best furry pal ever it made me feel good to have it there. 

Several changes were made to the pattern so that it would suit my vision perfectly! The first was that I rounded off the points. The print on the jacket is full of soft and undulating curves and to have these sharp front jacket points seemed out of place. I used a teacup and just drew around the base and rounded off the corners quite nicely.

The second was that I shortened and slightly narrowed the sleeves. I wanted this to be a fun, fresh spring jacket and the shorter 3/4 length sleeves fit the bill exactly.

rounded off the points

The third change I made was to use a hidden snap for the closure. The fabric and the print is the real star of this jacket and I did not want anything to take away from it. I had auditioned several vintage buttons but in the end the snap just won out. I think it may also have to do with where this single closure falls on my body and I just don't like it. It's right exactly between my boobs. I tried moving it up but then the V was too high and lower just didn't look right either! So hidden snap it was. This darn snap took me several try's to get it in the right place correctly. The first time I somehow lined it up wrong and my matching was off about half an inch. The second time was matching perfectly BUT I sewed the damn thing on upside down so no snapping was happening! Double ugh. Third time was the charm and it lined up great.
used a hidden snap

The last change I made was to eliminate the bias binding. I tested several out but each time I thought ugh it's just breaking up that print across my chest too much! And darn it, I worked really hard on matching that up perfectly. So I trimmed all along the lining edges a quarter of an inch and sewed the lining to the edge right sides together leaving a 4 inch opening at the side bottom. Trimming the quarter of an inch allowed for the favoring of the print fabric when turned right side out. I then slipped stitched the opening closed and slipped stitched the sleeve hems as well.

lined to edge
Now for the rest of the outfit! I made green silk 4-ply culottes and matching Tank from silk that I also had in my fabric collection. Not quite as old as the orange silk, but still a couple years old.
I used two pants patterns, Eureka! pants that fit by Fit for Art patterns and Butterick 6178. For the pants I basically used the crotch, hips, waist from my my Eureka! Pants pattern and then Butterick 6178 for the legs. I would have drafted the legs myself but I happened to have this pattern in my collection so I just used it. Saved me a bit of time! These legs are really, really wide. More like a split skirt then traditional culottes. I made these up in a poly crepe first as a muslin and decided to add more width to the legs to make it more skirt like. I loved the effect it has when walking and they do feel very dreamlike when wearing. So light and airy. The lining is a lime green China silk that I ordered from Mood on sale.
I used a lapped zipper application for the center back zipper. I was planning to do an invisible zipper but just could not find a good enough color match for what I wanted. Lapped zippers in the center back of pants always make me feel more secure anyway ;-)


top and pants

back zipper detail


lining in a lime green china silk

The Tank is self designed from my own master top pattern. I think this top may have originally started as  Silhouette pattern many, many years ago. It has since gone through many fitting and design alterations to make it all me.  This time I made a wide scoop. I started by drawing out a square neckline but rounded it off because I wanted it softer looking for this project. Same reason why I rounded the points on the jacket. Out of all three pieces this gave me the biggest trouble!! I took the time to make self faced facings but when I applied them it was just too bulky and showed right through to the right side. So ugly that I could not even take a picture! I very carefully took those out and decided instead to do a wide bias facing out of the lime green China silk with multiple rows of top stitching. Let me tell you, multiple rows of top stitching on a spongy 4-ply silk crepe is a bitch to do! Especially around curving necklines and armholes. It got done, it's not perfect but oh well! You don't even see the tank when worn with the jacket anyway! 

topstitching detail on tank

bias binding in lime green china silk


This was my first of three garments worn at the Haute Couture Club of Chicago 2016 Fashion Show. The photographer did an excellent job in capturing how great I feel in this outfit. It makes me feel alive and happy! 
garments tagged and hanging in the model staging room

action shot on the runway!

Professional photos done by Peter Thompson

I love this look!

Happy Sewing!!