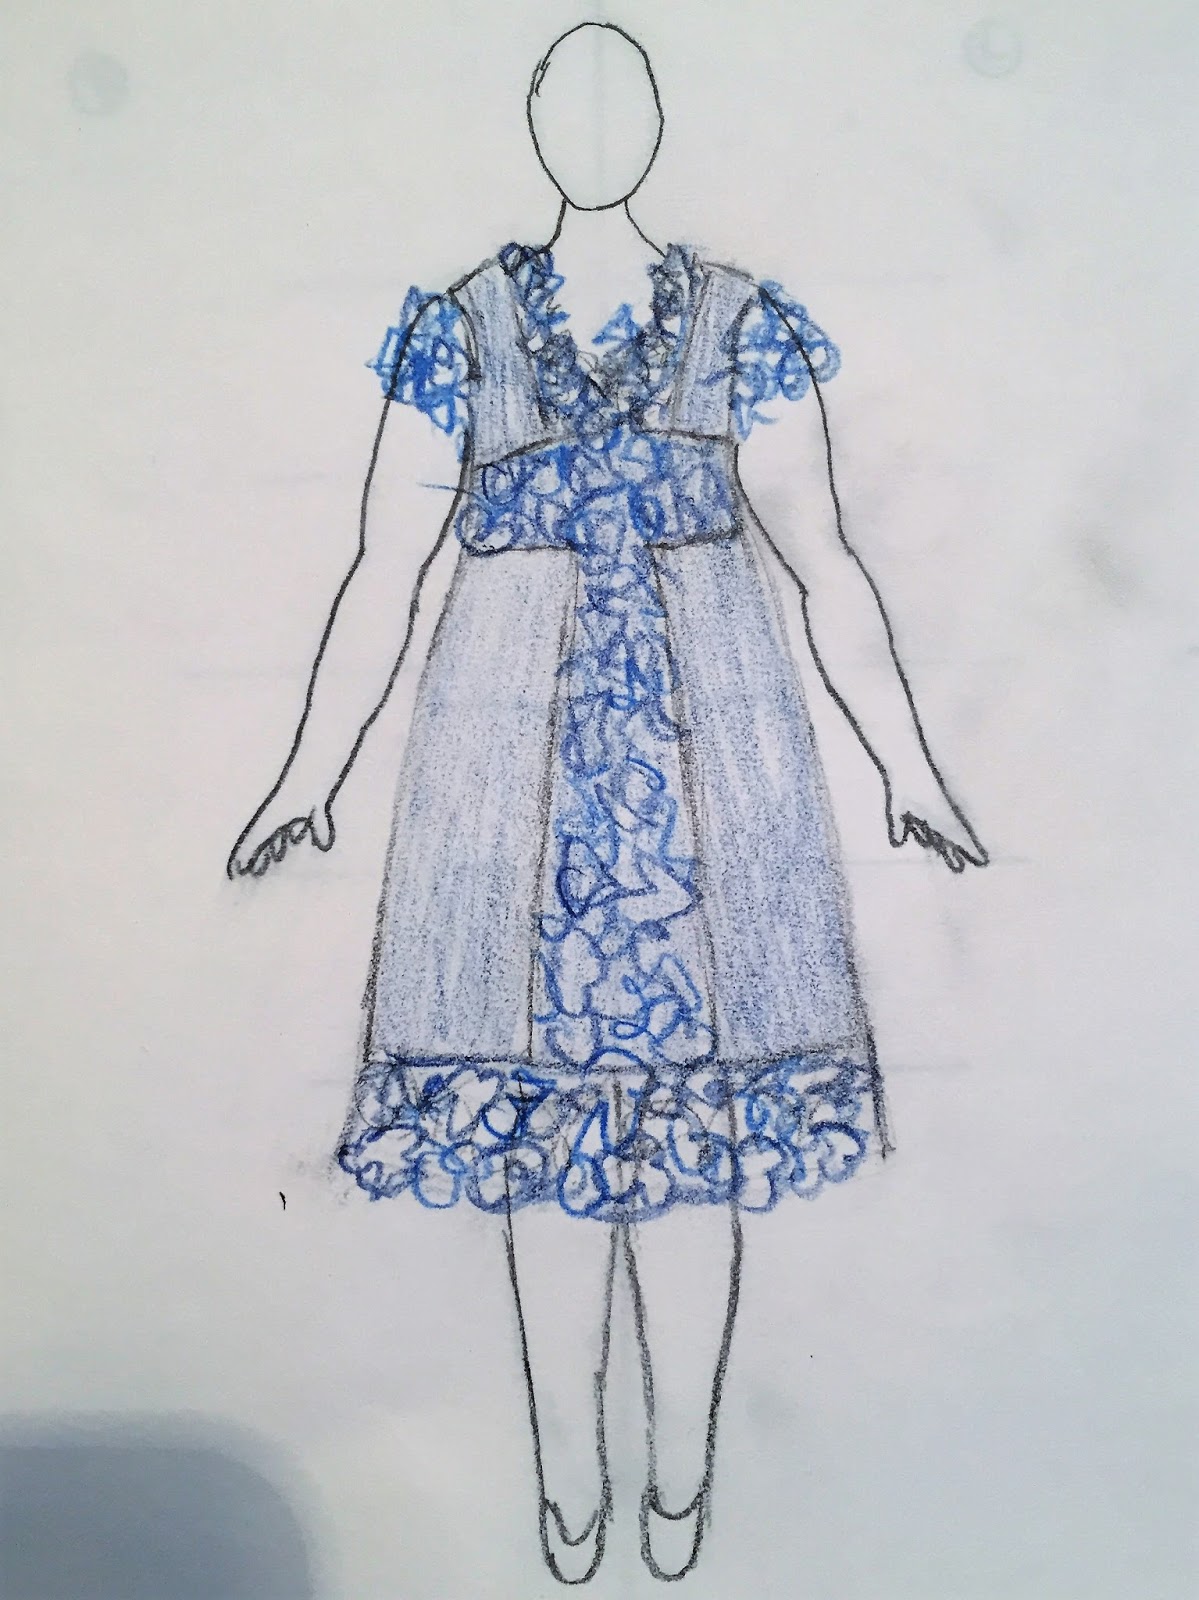
One of the sketches that I had done for In The Sketchbook
was done from an idea that came to me when I draped some of my fabric on my
dress form.
It all started when my lovely friend Wendy from Couture
Counsellor gave me 2 sets of opera gloves for Christmas. A beautiful hot pink
stretch satin pair and a black lace pair. The pink was the most perfect shade
of pink for me, it was MY color!!
 |
| Wendy and I at the Lyric Opera House |
I took those gloves home and went right to my fabric closet
and ran those pink gloves up against my hanging fabric and BAM!
Hot pink silk dupioni and hot pink and black
lace on
netting jumped out at me. I
really had no idea what I wanted to do with them just that I wanted to use
them.
 |
| My new opera gloves along with several options of fabrics that I pulled from my fabric collection. |
So I draped them on my dress form and let them take their time in talking
to me. Thinking about the free form draping workshop that I did with Sarah
Veblen, I was inspired to look over my notes and photos from that workshop.
Then I decided to just let my fingers play with the lace fabric. No right, no
wrong, no
judgement, just playing. I
ended up with the lace draped as one single long piece, with tucks around the
body from front to back on each side, I then wrapped the silk around the top to
simulate a bodice.
 |
| My fabric choices draped on my dress form in a loose idea of what I was 'seeing' in my head. |
Leaving that on my dressform, I took some photos and then
decided to make a couple of sketches to fill in the details. My first idea was
that it would be a knee length sleeveless dress with a defined waistband with
the lace attached to the waistband and a bolero type jacket/topper. I spent
some time thinking about the silhouette and realized that I had a dress pattern
already that I could use as a starting point. In fact, I still had the muslin.
This was from the black/red/later cut scuba dress that I made last year. I
quickly tried on the muslin and in the mirror drew some changes on the muslin
in sharpie. I took the muslin off, snipped here and there and pinned some other
muslin on. From here I transferred the changes From the muslin to a newly
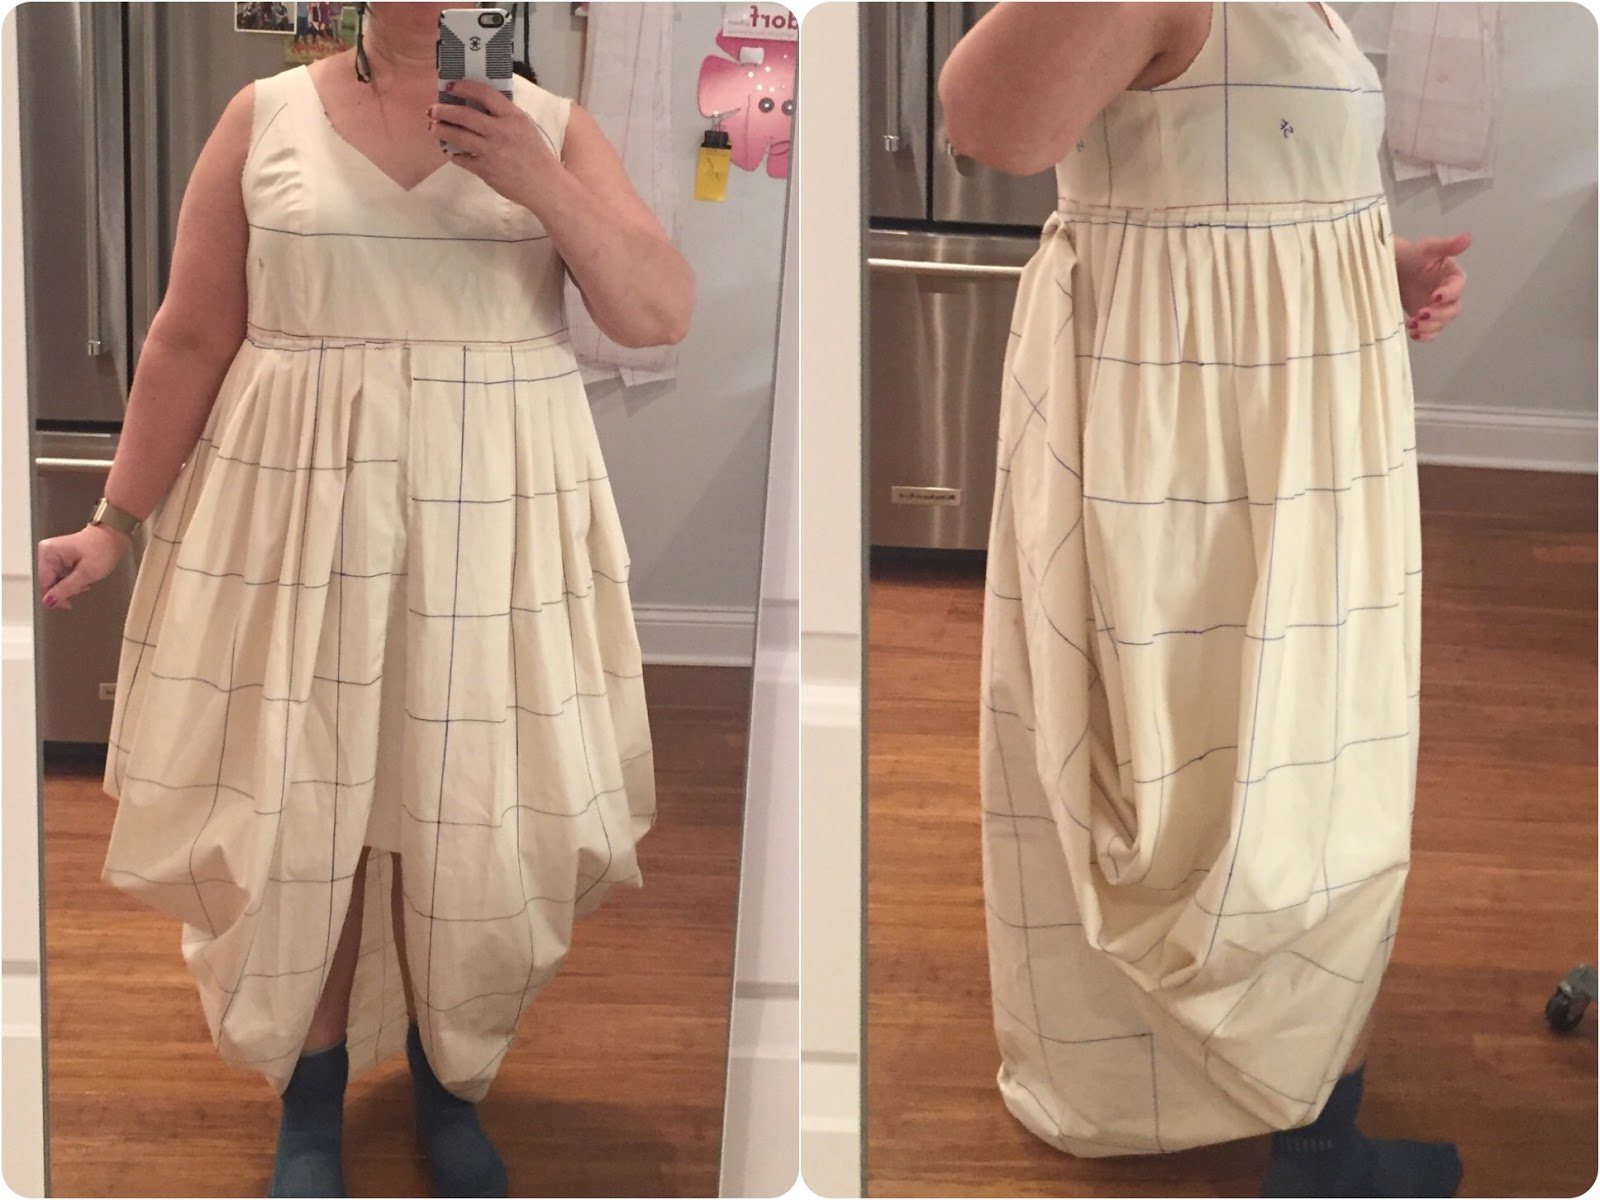
traced pattern and made a new muslin. With this second muslin I took a piece of
muslin that was the exact measurements of the piece of lace. I marked it up
with the grain lines and pinned this to the muslin in several ways until I came
up with the perfect size of pleats to make a symmetrical drape. The drape was
originally inspired by how Balenciaga used and constructed Fabrics in his
dresses my brain made the leap to draping and from there it is all history.
 |
| Muslin on the dress form. You can see the grid ,arks that I drew on the muslin prior to draping. |
Back to my process, I made the changes to the pattern for
the princess dress. specifically to the neckline and the amount of ease. I
wanted something that was slightly more relaxed so I wouldn’t have to wear
shaper wear underneath ( I don’t mind a smoother to smooth out the appearance
of the.. ahem, rolls..but , I really don’t like wearing spanx or. Similar
garments!) with these changes I took the dress muslin and literally cut it in
half at a high waist level, sewed in the giant piece of pleated fabric and
sewed the dress back together and that was the muslin.
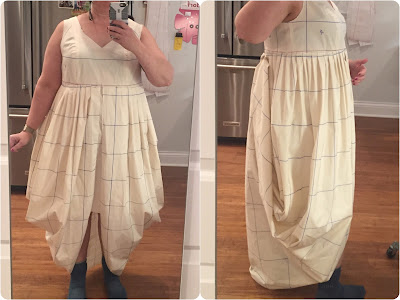 |
| Final iteration of the muslin in the fitting and design stages. |
Making that muslin really helped with a couple of things. I
was able to know exactly how the ace fabric would attach and I was able to work
out the construction method. In order to make this lace insert the easiest or
more practically, the method with the most control was to construct the top of
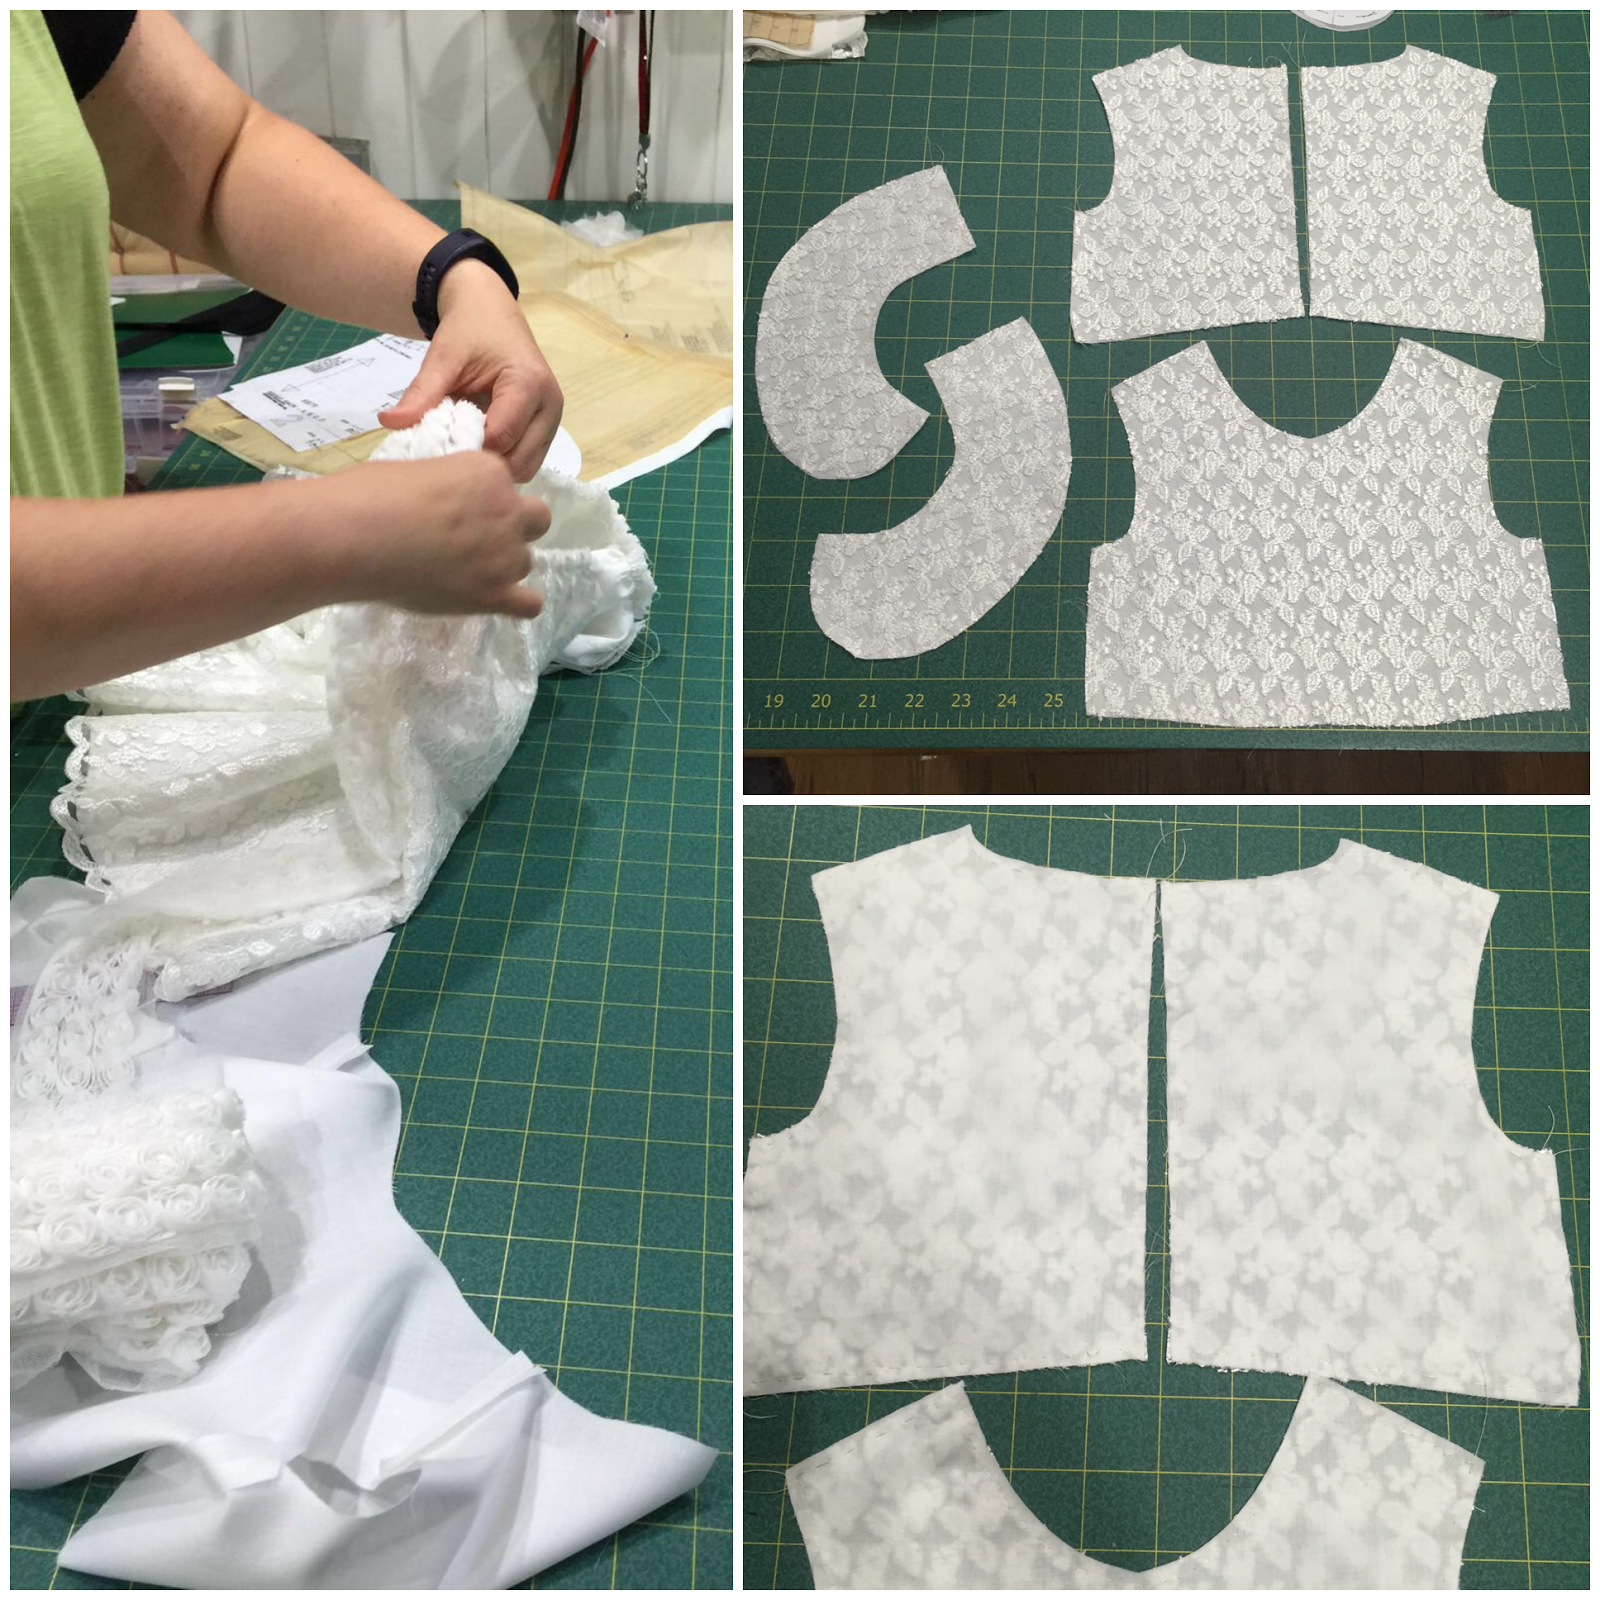
the dress. Each piece of dupioni was underlined in silk organza and lined in a
deep purple ambiance lining. Wit the top constructed, I moved to the bottom
half of the dress. Thee were also underlined in organza, however not all the
way to the hemline. I only did it that way because I didn’t have enough silk
organza and since the bottom of the dress was going to have the lace overlay, I
wasn’t too worried about it!
 |
| Dress details: sweetheart neckline shape, view of the purple Ambiance lining (this helped keep a strong pink color). Bottom 2 photos show detail of the skirt front. I was careful to keep the front panel flat with the pleats not starting until the side front. This minimized some of the bulk at the front. |
Once the bottom was constructed I basted the pleased lace to
the it and then sandwiched the top over it and sewed it all together. With some
trimming and pressing everything laid quite nicely. The zipper was next to go
in. I had a 22 inch invisible pink zipper that I installed by hand with a small
back stitch. I was originally a little nervous about putting an invisible
zipper in by hand! There was NO need for that nervousness, putting that zipper
in by hand was so easy and afforded me much more control.
 |
| The dress in a final try on prior to adding the hooks/eyes and snaps for the bustle. I am just holding it up in these pictures with my hands. |
The lining was sewed together at the neckline, clipped,
graded and
under-stitched and the
pressed the neckline. I’m not 100% happy with the neckline. The shape is
gorgeous but for some reason the lining wants to peek out. I pressed again and
realy let is set and this seems to have helped. The lining was attached to the
zipper by hand and for the armhole I tried a different technique. I trimmed the
lining back to the seam-line and then hand rolled the fashion fabric around to
the inside and hand stitched it down. I really like how it looks and the lack
of bulk.
 |
| The invisible zipper was set in by hand, such amazing control when done this way! The lining was then hand stitched to the zipper tape. My label and bra strap keepers were added as the final details. |
With the dress lined and all the finishes done the last
thing I needed to do was to figure out how to bustle the lace. This gave it the
distinctive shape that I was looking for with the deep draped sides. Playing
with pins, I figured that I needed 4 hooks and thread bars. 2 on each side of
the zipper with the thread bars being just at the level of where the lace
attached into the dress. After my first wearing I realized that this was not
going to work… unlike were a wedding dress is bustled which is usually at the
butt level or below, this was at my high waist so every time I sat down the
fabric would push up and come right out of the thread bars. I had to carefully
smooth the fabric down before sitting and that was a bit better. The next day I
added 2 clear plastic snaps. One on each side just above the outer most thread
bars and this helped greatly to give it just the extra security it needed to
keep the hooks in.
 |
| Close ups of the bustle hardware. the top shows the 4 thread bars and the 2 plastic snaps at the back of the dress on either side of the zipper. (double click on the photo to see it in a larger view) The bottom photos show the hooks sewn on to the lace. I used tiny bits of silk organza under the hooks to give them a little bit of stabilization. |
I didn’t make the bolero topper. 2 reasons. 1- I tried on
one that I made for a different project, different fabric but just to see how
it would look. Not good. Remember I used a high waist to attach the lace drape
and it would have had to be so very short and look fairly ridiculous and with
the regular bolero length it was way to much. Pleated fabric all around my
waist and then a bolero. Took away any shape that I had. The second reason that
I was secretly happy about the bolero was not good was a time factor, I was
just about out of time!
 |
| Close up of the shawl. the top shows the fussy cut portion. I only tacked down the lace in several areas and caught it in the side seam. This left the bottom scalloped edges free and the fussy cut portion just tacked. |
With the bolero out I went and got a one of my shawls and
this was a much better option! I had enough silk dupioni left to makes long
shawl and just enough lace to fussy cut and add it to the ends of the shawl. I
love it!,
 |
| The dress and shawl hanging. I am leaving the bustle down while hanging to minimize the pull on the hooks/eyes and snaps. |
 |
| The final dress on my dress form. Top show front and back. Bottom photo shows side front and side. |
The entire outfit along with the elbow length hot pink
gloves looks amazing! I wore this dress to the opera on a Saturday night. I am
just loving living downtown Chicago, so close to so many of the things that I
have always wanted to be a part of.
 |
| At intermission during the opera. |
One of the nicest things was that several other opera goers
had commented on how nice my dress was! It really felt nice to bring this cool
garment to life!!
 |
| Some fun candid shots!! |
Special thanks to Wendy for the hot pink gloves, Sarah
Veblen for the draping knowledge and to Balenciaga for the inspiration.
😊
Happy Sewing!!
 |
| Kisses from my girls!! |