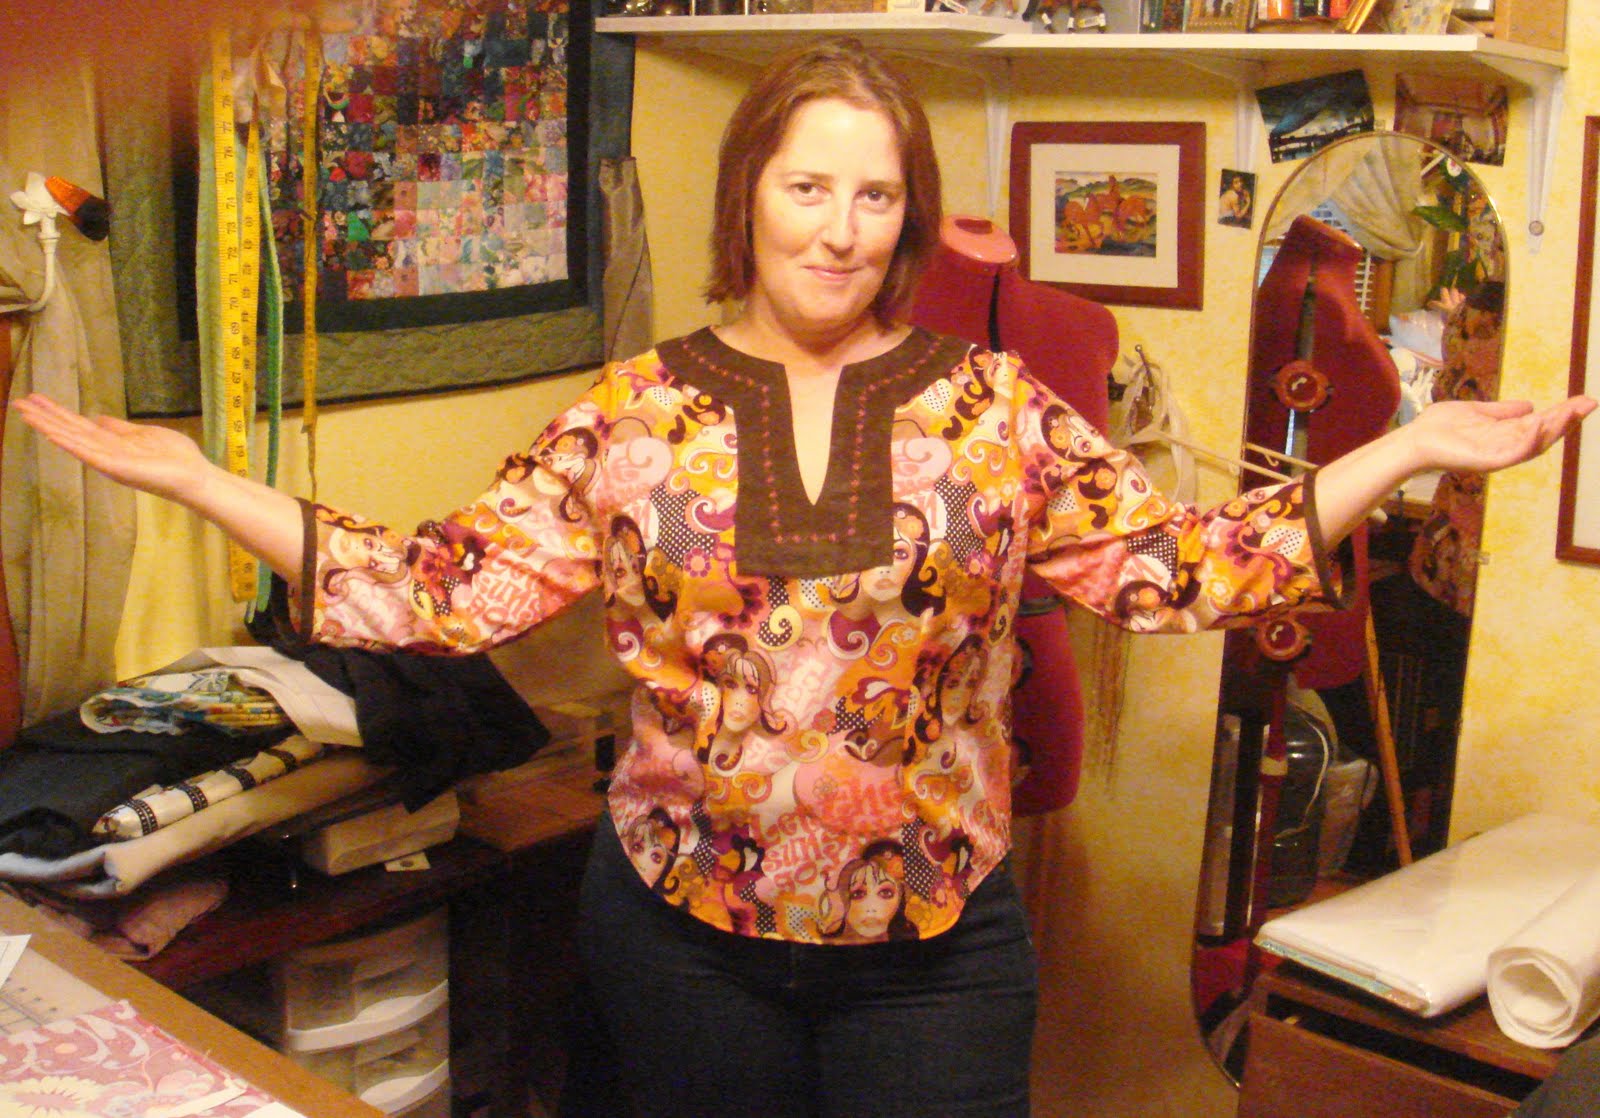
90% of my wardrobe is handmade and I have no problem with the
idea of sending garments to the resale shops if they are in good condition or
to the recyclers if they are worn out. It wasn’t always that way, I used to keep
everything I made just because I had made it! I know only do that for special
garments. Like fancy dresses or French style jackets, as long as I love them.
I really found a lack of blouses for the summer. Tops that could
be used for business casual meetings or evenings out with friends or just some
nicer summer tops. I worked off of a princess seam pullover blouse that I
really like. Originally, I had designed this top with a back neck zipper but
have found that I really don’t need it for most blouses. In cases where I think
I need a little extra room I have been using a small opening in back with a
button and loop closure.

In these 5 tops I have played with 4 different necklines and one
with a fun collar, 2 sleeves and different types of sleeve finishes. All of them use a
neckline facing and a baby hem for the body.
The short sleeves are finished 3 ways. 2 are finished with a baby hem, 1
is completely faced and one has a 2-inch hem with a side split. The last shirt
is long chiffon sleeves with a cuff. I also played with the fullness of the top
around the waist. 3 of them have a fuller body and the last 2 have a slimmer
fit.

The necklines are a simple scoop, 2 have square necklines. One is
a soft V with a collar and the last is higher and what I call ‘the Stephanie Boat
neck’ it is as high and as wide as I can do or rather as I like! After all,
isn’t the ability to sew all about making things that I like and that I want to
wear!
The first shirt is very simple. A scoop neck, princess seams with
a small back opening with a button and loop, short sleeves and all hems done as
a baby machine sewn hem. This fabric is a bit of a throwback to the 1980’s. It
is a rayon challis that I got from our ASG chapter neighborhood group leaders
meeting this spring.


Shirt number 2 is a square neck with no extra opening. The
sleeves and hem are machine sewn baby hems. The front of the blouse is
embellished with pin tucks. The fabric is a silk/cotton voile. This is proving
to be a favorite already!
 |
| In the photo on the right you can see the pin tucks. Always hard to see details on black fabric. |

Number 3 is also a square neck without a back opening. The
sleeves are completely faced and as you can see, I added a ribbon
embellishment. The fabric is a wonderful Nano Iro triple gauze. The colors in
it are amazing. However, the overall look of the fabric is lighter and the
ribbon embellishment really helps to provide definition between my skin and the
garment as well as provide a resting place for the eye. The sleeve facing a
neck facing are from a soft pink cotton/silk voile. (I know, I know... lots of voiles! They have
been accumulating in my fabric collection and are finally being used!)


Number 4 is a blouse that I made for a refresh of my work
wardrobe. It has a higher neckline, my version of a boat neck with a back
opening with loop and button, a slimmer silhouette around the waist and a
mixture of fabrics. The front of the blouse and the cuffs are from a hammered
silk charmeuse, the back and the sleeves are from a matching silk chiffon. The
back pieces are completely underlined with a rust colored silk/cotton voile to
give strength to the seams and provide coverage. The sleeves are longer than
usual so that they have a bit of pooling at the wrist. I only had 2 small
pieces of the matching silk, less than a yard each and I had been wracking my
brain with what to do with them, this was a great use! I even managed to mostly
match the like colored wavy plaid. The front and across to the sleeves came out
great. The back is a little off. However, seeing as I had just tiny pieces of
scraps leftover I am quite happy with the result.


Number 5. This one was also a bit of an experiment. I had this
remnant piece of cotton lawn leftover from a project maybe 10 years ago. It was
time to use it up and get it out of my collection! This has a soft V neck, a
split rolled collar and a loop and button closure at the back neck. The sleeves
are finished with a split hemline and a 2-inch hem. The hem of the body was
done with a machine baby hem. The silhouette of this top is a bit slimmer then
the above shirt sleeve blouses. Between the print, the split collar and the
split sleeve hem this shirt has a funky retro vibe that just makes me smile! The details on this one can be hard to see due to the print.


Sorry no real photos of me wearing any of these,except for the 2 mirror selfies as I was planning my wardrobe for a trade-show convention! My work schedule has
been brutal and I am racking up the airline and hotel points big time this
summer! Writing this from 30,000 feet! The times I have been home have been
spent with family and friends and squeezing in some sewing and relaxing time
for me. Doesn’t leave much time to set up the tripod and take photos.
I really LOVE having a great base pattern to work off of and play
with different details. In a class a couple years ago we worked on defining
different necklines that work on each individual. When I returned home after
that class I used different color pins to pin these different necklines onto my
dressform. It really helps to have them handy and to check a muslin or garment
neckline.
 |
| The Princess and I enjoying a nice day at the Shedd Aquarium together! |