I did have a project all lined up to work on as soon as I could get back into my sewing room. However I decided instead to work on some Valentines Day cards. I figured with the amount of pain killers that I am taking if I screwed up a card or 2 who cares! If I screwed up on my daughters birthday gift I will be mad at myself.
I also took the opportunity to play with my new camera while doing this project and took pictures of all the steps along the way. Which means you get a Valentines Day Card tutorial (of sorts!) This was a good project for me because I could do stuff in 15minute increments. What normally would have taken me a couple hours took me 4 days!
All of the materials used were from my giant stash of stuff in my sewing room.
 |
| I cut card stock into Postcard size pieces to fit into my small envelopes |
 |
| I next used some of my stamps to make all over background designs on the cards |
 |
| To add some extra visual interest I added some areas of embossing |
 |
| embossing powder being applied |
 |
| I then hold the cards over an iron set on highest setting with no steam, this melts the powder together giving the raised embossed effect. |
 |
| The cards with the embossed details. |
 |
| I then pulled out some trims from my giant box of trims to play with. |
 |
| Trims sewn on in rows. |
 |
| I used a clear foot on my machine so I could see where I was sewing on some of the smaller pieces of trim. |
 |
| With all the trims sewn on, I them flipped the piece over and applied some leftover pieces of heat 'n bond. I traced the heart shapes onto the paper backing and cutout 4 heart shapes. |
 |
| I then peeled off the paper backing and with the iron set to a low heat with no steam I ironed the hearts onto the cards. I ironed them from the back. The dry heat kept the cards from curling. |
 |
| The cards with the different hearts applied using Heat'n Bond |
 |
| I then added various trims to the edges using Tacky glue applied with a toothpick as well as a couple extra paper cutouts. |
 |
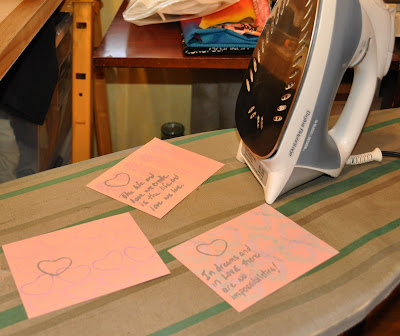
| When the glue was dried I trimmed off the edges, wrote my notes on the cards and stuffed them into the little envelopes which I decorated with small punch hearts. |
 |
| All set and ready to mail! I even stamped the back with my monogram. |
As you can see these cards are an adorable way to use up some trims as well as to say 'I love you' to some very special people! I only have 4 cards... It will be a surprise to see who gets them in the mail :)


No comments:
Post a Comment
comments, thoughts, idea? Please share!